Tubeless on an eMTB: sealant, tire plugs, pressures and common mistakes
Disclosure: as an Amazon Associate, eMTB PRO earns from qualifying purchases that meet the applicable requirements, at no additional cost to you.

eMTB tubeless: setup and repair kits
Clearly labelled affiliate picks selected using editorial judgement. Do not buy blindly: confirm the version, size, caliper, valve or intended use before paying.
Advertisement / sponsored link
Advertisement / sponsored link
As an Amazon Associate, eMTB PRO earns from qualifying purchases.

Stan's NoTubes tubeless kit
Category: MTB tubeless kit · Recommended article: MTB tubeless setup · check the valve and rim tape
As an Amazon Associate, eMTB PRO earns from qualifying purchases.

Advertisement / sponsored link
Muc-Off Tubeless Kit
MTB tubeless kits · Related guide: tubeless setup · Check rim-width compatibility
Disclosure: as an Amazon Associate, eMTB PRO may earn from qualifying purchases at no extra cost to you. Editorial opinion does not depend on the commission. Affiliate disclosure.
Related products
Selected for their usefulness to this topic. No hype: buy only what suits your needs.
Affiliate links: eMTB PRO may receive a commission if you purchase from these links. The editorial recommendation does not depend on the commission. Affiliate disclosure.
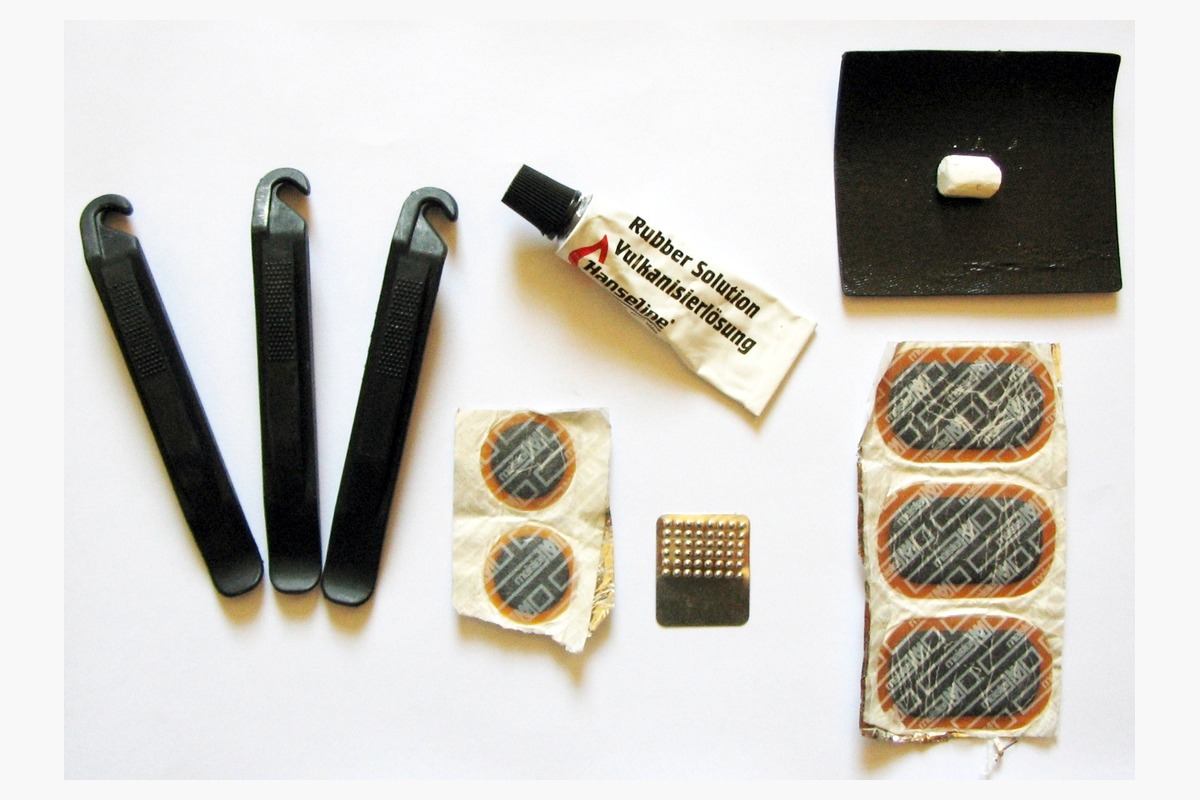 Repair kit: useful, but does not replace a suitable casing.
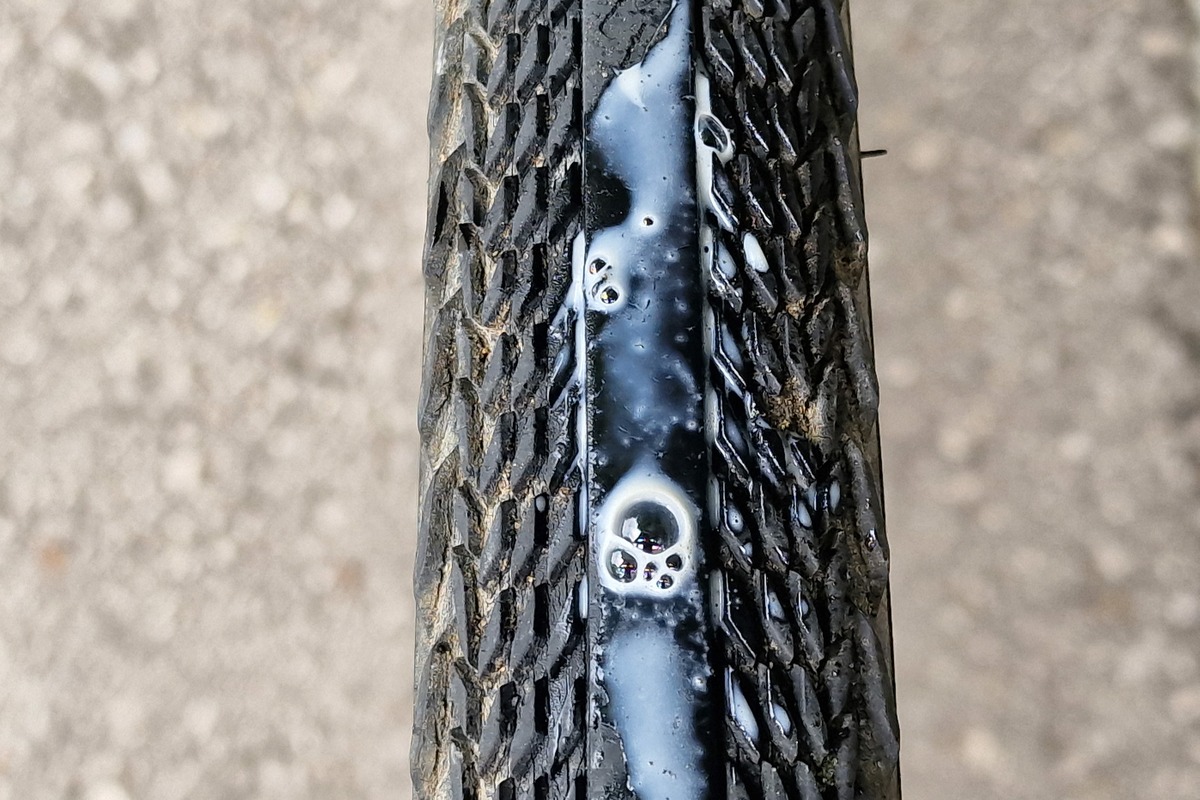 If the sealant will not seal, pressure, casing or a cut may be the cause.
The quick take, without the hype
Do not copy someone else's pressures. Weight, casing, rim and terrain change everything.
| What to look at | Why it Matters | Watch out for this |
|---|---|---|
| Real-world use | An eMTB is heavier, faster and harder on components than a non-assisted bike. | Do not buy on the headline claim alone. |
| Maintenance | What looks cheap can be expensive in replacement parts. | Ask about price and availability first. |
| Support | A nearby shop, warranty support and available spare parts are worth a lot. | A spec sheet will not fix a breakdown. |
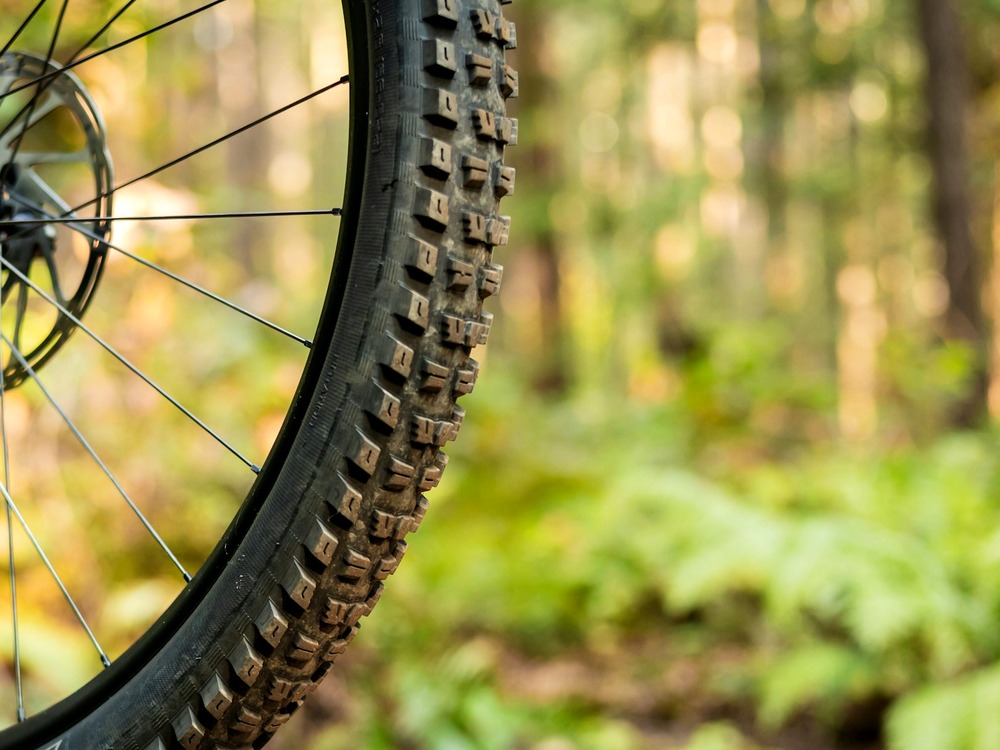
Tubeless on an eMTB: sealant, tire plugs, pressures and common mistakes
An eMTB without a properly installed tubeless setup invites punctures, unseated beads and cut tyres.
Actual examples of the eRIDERSeMTB channel
Images downloaded/retrieved from YouTube to give the guide real visual context, not attractive but useless filler.
 Buying and real-world use: tyres, pressure and casing matter.
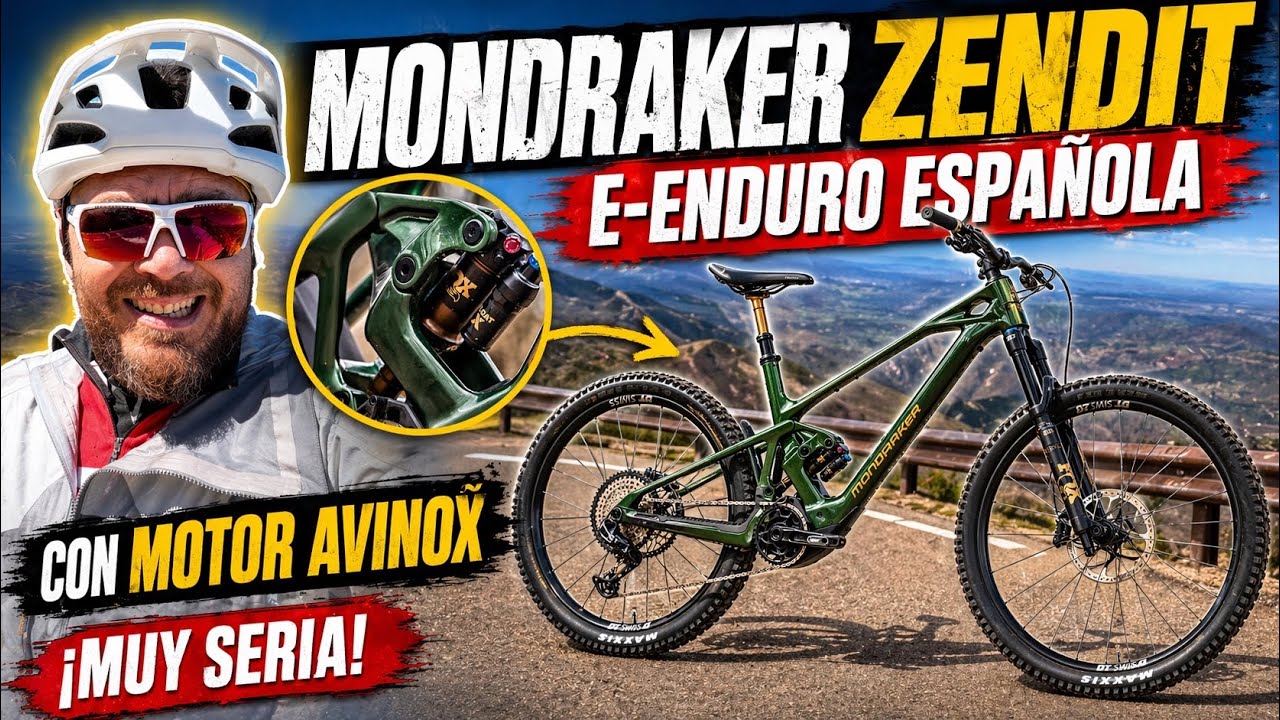 A powerful e-enduro needs suitable tyres and a properly installed setup.
 A good deal does not always mean the right tyre.
eMTB PRO constructive criticism
We will not say everything is wonderful just because a brand says so in a press release. If something can fail, a purchase is poor value or maintenance is expensive, we say so respectfully and back it up with data.
Why it matters on an eMTB
An eMTB is heavier, accelerates harder and puts more strain on components than a non-assisted bike. Small maintenance mistakes therefore have consequences sooner: noise, wear, punctures, hot brakes, poor range or a ride cut short.
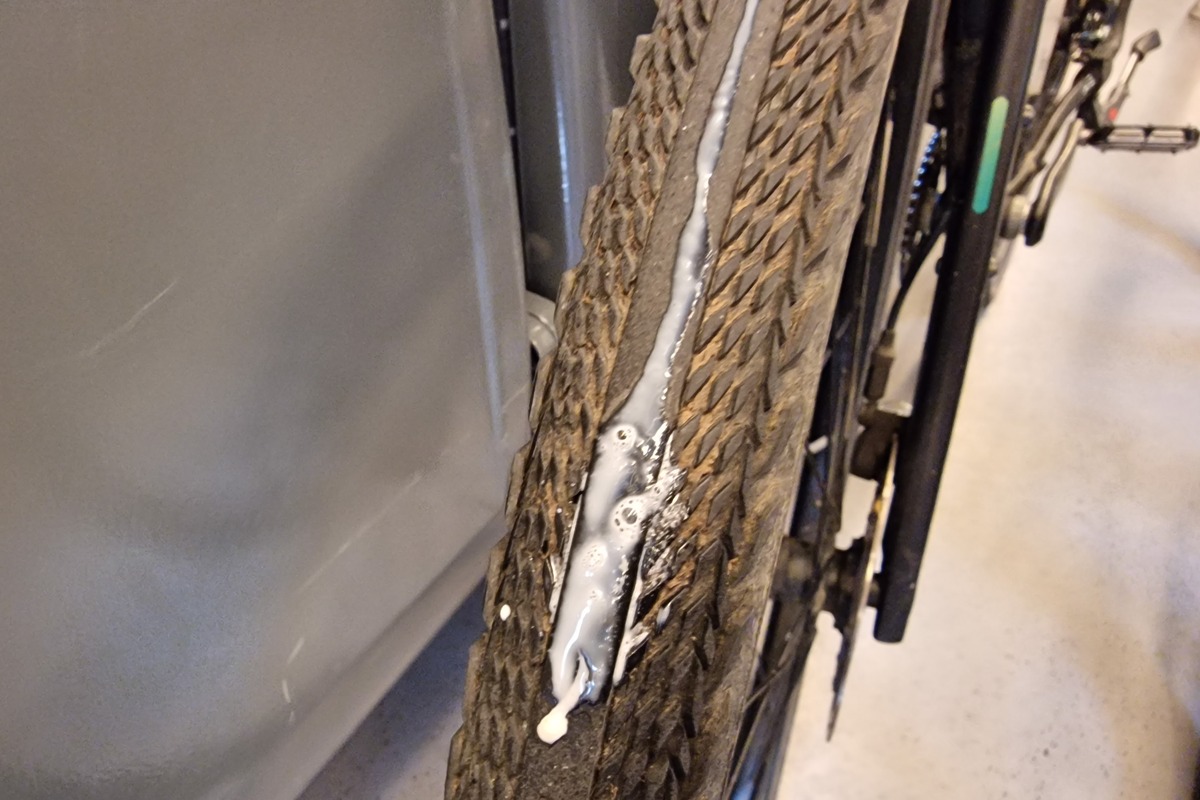 Sealant and valve: what you see when the setup is not working properly.
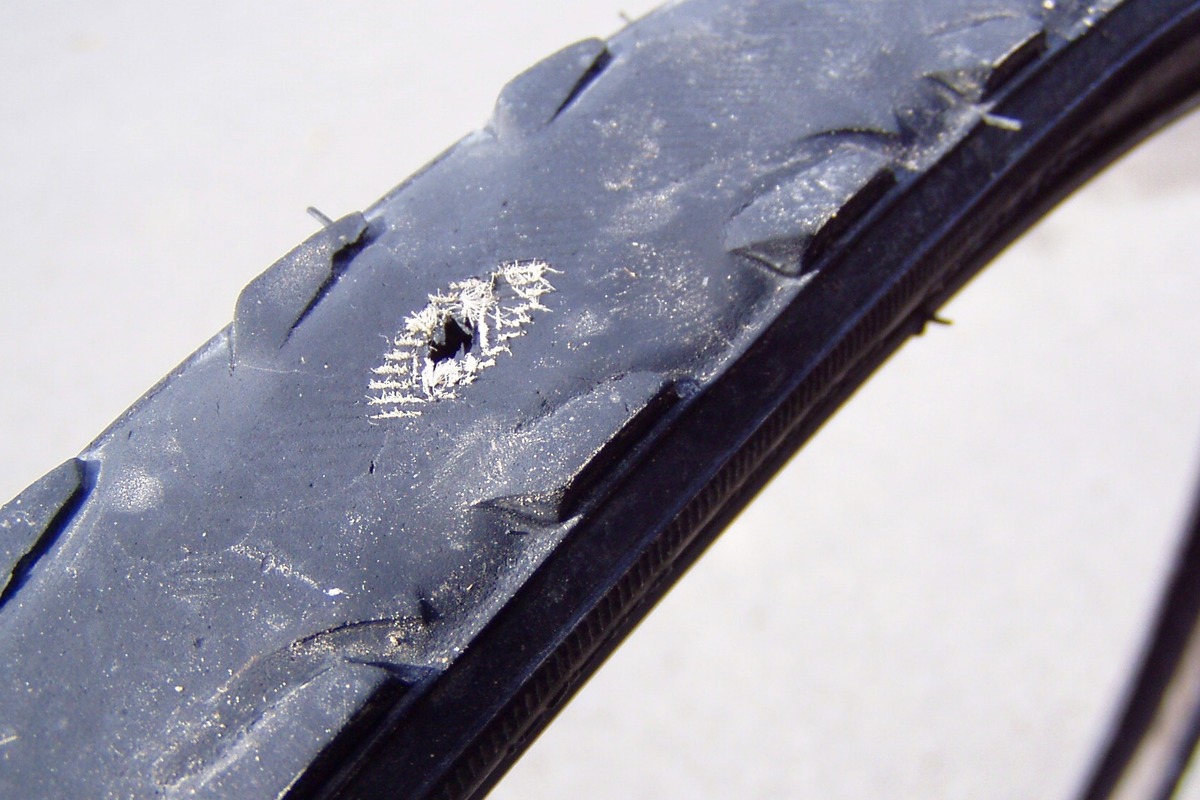 Damaged casing: pressure, wear and terrain matter.
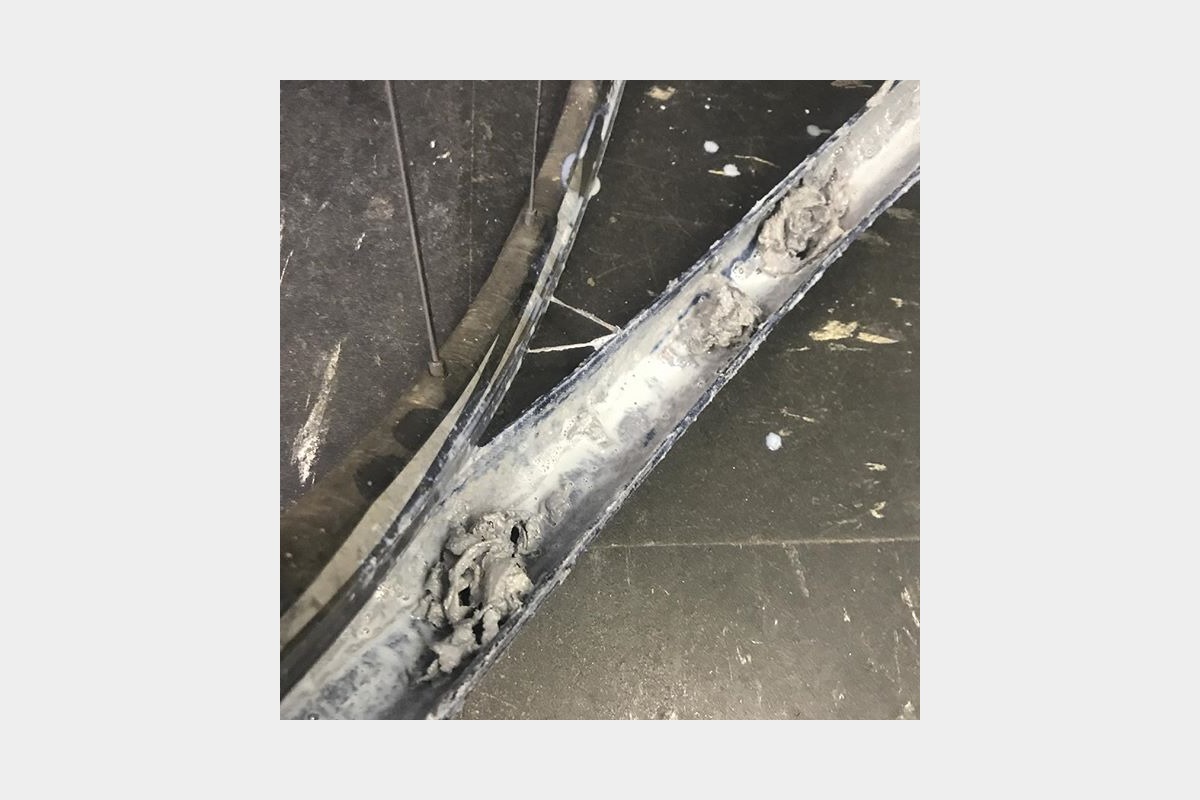 Residual sealant: once it dries, it stops doing its job.
Practical Checklist
- Check sealant every 2-4 months, depending on temperature.
- Carry tubeless plugs and an inflation cartridge or mini pump.
- Do not fit a lightweight tyre if you descend hard.
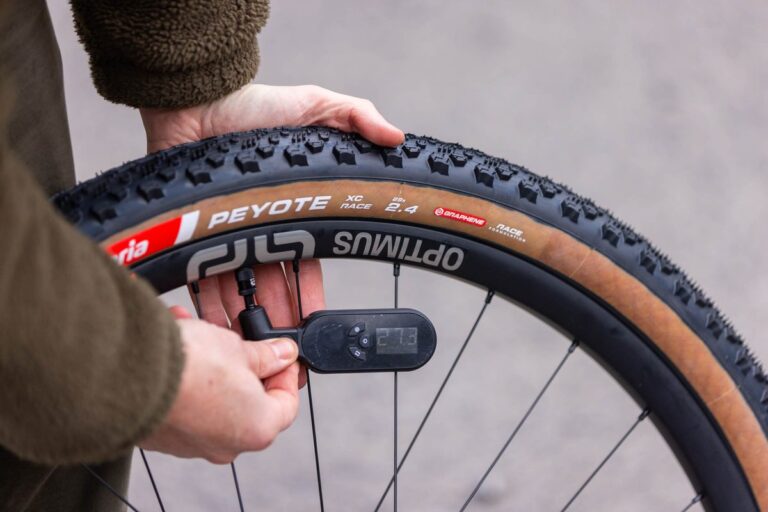
- Pressure depends on casing, weight and terrain.
Quick decision table
| # | What to look at | How to act |
|---|---|---|
| 1 | Check sealant every 2-4 months, depending on temperature. | Check it carefully, without rushing, and note any changes you make. |
| 2 | Carry tubeless plugs and an inflation cartridge or mini pump. | Check it carefully, without rushing, and note any changes you make. |
| 3 | Do not fit a lightweight tyre if you descend hard. | Check it carefully, without rushing, and note any changes you make. |
| 4 | Pressure depends on casing, weight and terrain. | Check it carefully, without rushing, and note any changes you make. |
Typical errors
The usual mistake is changing five things at once, taking no notes and then not knowing what improved or worsened. Make small changes, test on the same route if possible and use common sense: if a part makes noise, gets hot or develops play, do not wait for it to break.
Images: eRIDERSeMTB's own YouTube thumbnails and genuine technical photographs, with credits at the end of the article.
Have you used this bike, motor or component?
Join eRIDERSeMTB on Telegram to discuss real experiences with other riders: Bosch, Avinox, Shimano, deals, faults and buying decisions. The community currently speaks Spanish.
Advertisement / sponsored link
Advertisement / sponsored link
Advertisement / sponsored link
Advertisement / sponsored link