
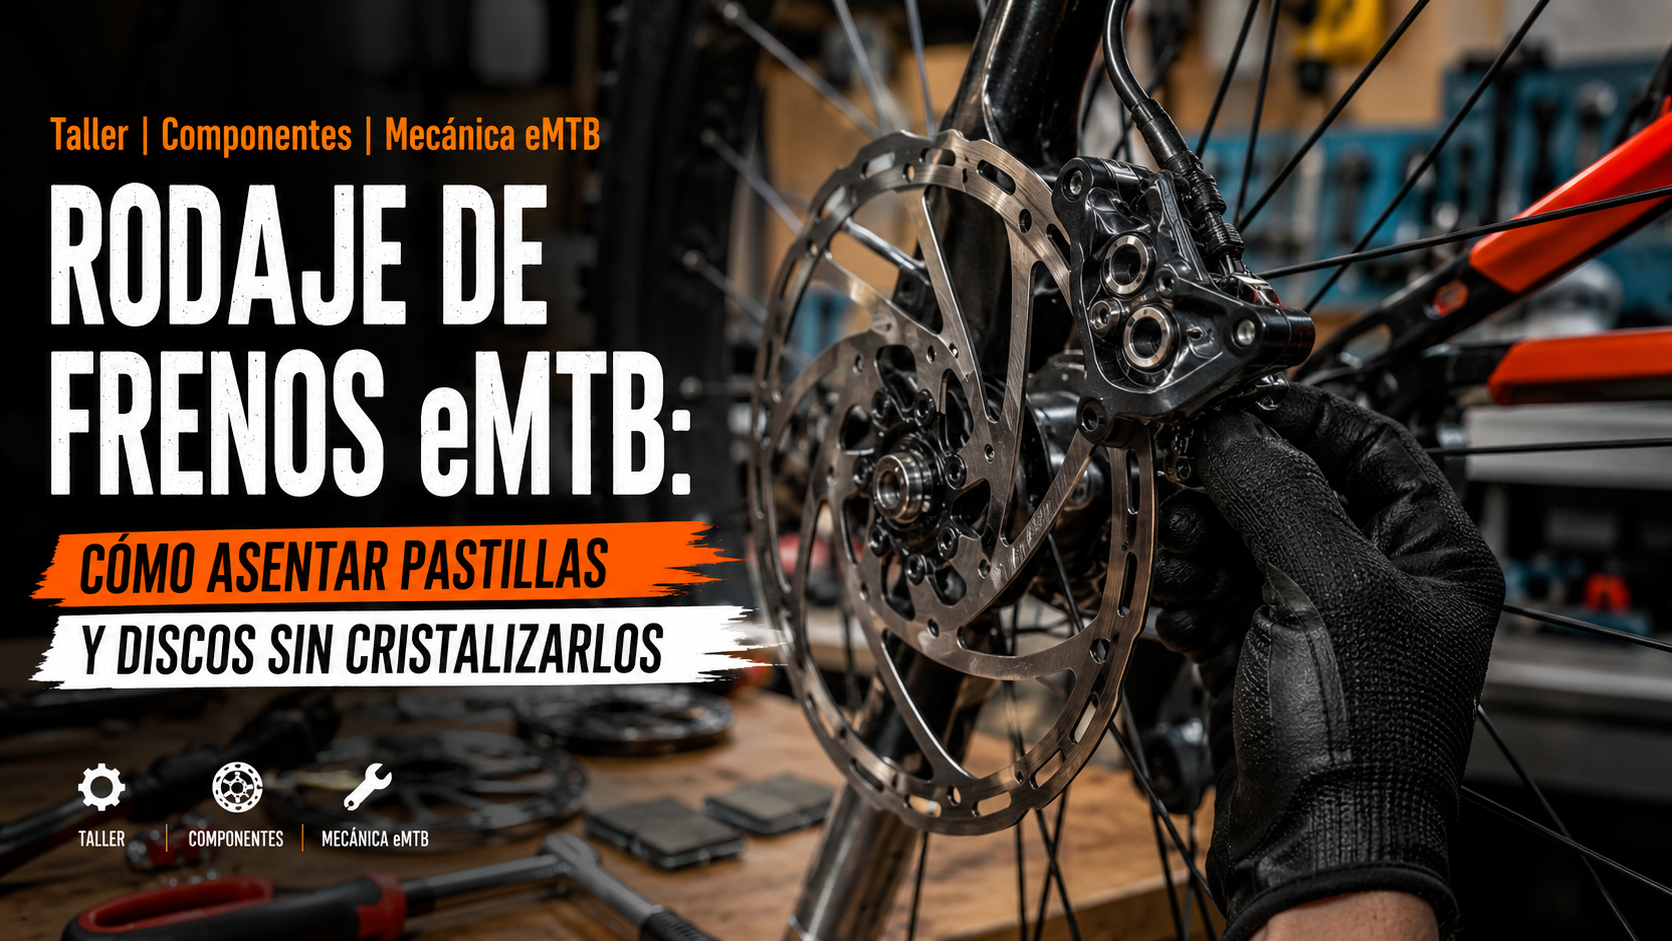
Bedding in eMTB brakes: get pads and rotors working properly
Disclosure: as an Amazon Associate, eMTB PRO earns from qualifying purchases that meet the applicable requirements, at no additional cost to you.
Bedding in eMTB brakes: get pads and rotors working properly
Replacing pads or rotors and heading straight into a long descent is one of the quickest ways to ruin brake feel. Bedding-in creates an even layer of pad material on the rotor. Done well, it improves power, feel and quietness. Done badly, it can cause squealing, vibration, poor bite and glazing.
Advertisement / sponsored link
MAGURA reference: repeatedly accelerate to 20 km/h and brake to 5 km/h.
During bedding-in, avoid coming to a complete stop with a hot brake.
Front and rear brakes should be bedded in separately.
Shimano states that braking force increases as bedding-in progresses.
What brake bedding-in is
Bedding-in means making a series of controlled decelerations so the pads and rotor begin to work together. It is not simply about “warming up” the brakes. The aim is to deposit a thin, even, stable layer of pad material on the rotor's braking track.
SRAM describes the purpose of bedding-in as increasing friction between pads and rotors by distributing pad material evenly over the rotor. Shimano also warns that disc brakes have a bedding-in period, during which braking force gradually increases.
Why it matters even more on an eMTB
An eMTB usually weighs more than an unassisted MTB. Add a battery, motor, reinforced tires, large rotors and often a rider descending faster after an assisted climb. The result is simple: more mass, more speed and more energy to convert into heat.
eMTB brakes work harder. Poor bedding-in therefore becomes apparent sooner: poor feel, a lack of power, squealing, a burning smell or vibration at the lever.
Chart 1: approximate thermal demand
What brake-pad glazing means
Glazing means the pad's friction surface hardens or becomes glassy through excessive heat, poor material transfer or incorrect use before the system has bedded in. It is not always visible to the naked eye, but is usually soon noticeable.
Typical symptoms
- Sharp squealing when braking.
- Little initial bite.
- A firm lever but little braking power.
- Vibration or inconsistent feel.
- A rotor with dark marks or shiny patches.
Correct bedding-in
- Progressive braking.
- Do not lock the wheel.
- Do not stop completely with a hot brake.
- Brief cooling between braking applications.
- Increasing power and consistent feel.
Recommended protocol for bedding in eMTB brakes
Use a flat, safe, traffic-free area with enough space. Bed in one brake first, then the other. Do not do it on a long descent or a street with cars.
Check installation and cleanliness
Check that the pads are correctly fitted, the rotor is clean, the caliper is centred and there is no oil, grease or brake fluid on the friction surfaces.
Accelerate to a moderate speed
As a practical reference, MAGURA recommends repeatedly accelerating to around 20 km/h and braking to around 5 km/h. Speed is not the aim: controlled repetition is.
Advertisement / sponsored link
Brake firmly without locking the wheel
Apply the brake progressively and firmly. Slow down, but release it before coming to a complete stop. Avoid stopping with the pads clamped against a hot rotor.
Repeat until you feel more bite
Repeat the braking cycles until braking power stops increasing. MAGURA recommends repeating the process until there is no further noticeable improvement in braking force.
Allow to cool
After bedding in, ride gently for a few minutes without heavy braking. The aim is to stabilise the transfer layer and avoid an unnecessary temperature spike.
Chart 2: how braking power develops during bedding-in
Braking power does not arrive all at once. It usually increases progressively as the contact surface becomes more even and pad material is transferred to the rotor.
Perceived braking power by number of braking cycles
Step-by-step bedding-in for real-world riding
Start with gentle braking. Aim for clean contact, without locking the wheel or making loud noises.
Moderate braking. You should now feel more bite and a more consistent lever feel.
Firm braking. Slow down decisively, but do not come to a complete stop.
Cooling down. Ride gently and avoid dragging the brake for long periods.
What NOT to do during bedding-in
Chart 3: risk of glazing from incorrect technique
Organic, metallic and semi-metallic pads: they do not all bed in the same way
The pad compound affects lever feel, noise, operating temperature and wear resistance. Many eMTB riders use metallic or semi-metallic compounds for their heat resistance, although these may take longer to bed in properly.
| Pad type | Advantage | Drawback | Bedding-in |
|---|---|---|---|
| Organic / resin | Good initial bite, less noise. | Less heat resistance and faster wear. | Usually quicker to bed in. |
| Semimetallic | Good balance between power, noise and durability. | Can vary considerably by manufacturer. | Moderate bedding-in time. |
| Metallic/sintered | Better thermal resistance and durability. | More noise, more rotor wear; needs heat to work well. | May need more braking cycles. |
New rotors vs new pads
Ideally, bed in the brakes whenever you change pads, rotors or both. If you fit new pads to used rotors, the rotor surface already has a transfer layer from another compound. If you change compounds, for example from organic to metallic, thorough cleaning may be advisable, or replacement if the rotors are contaminated or heavily scored.
New pads
They need to transfer material to the rotor. Initially, braking may be weak and noisier.
New rotors
They need to develop a stable braking track. A long descent immediately after fitting them is not advisable.
Contaminated rotor
It can ruin new pads. If there is oil, grease or brake fluid on the rotor, the problem may return even after correct bedding-in.
Clean rotor
Better material transfer, less noise and more power from the start.
Chart 4: temperature and braking technique
A common mistake is to think that braking lightly for a long time is better. On many long descents, dragging the brake can generate more sustained heat than shorter, firmer applications.
Advertisement / sponsored link
Thermal load according to braking style
Checklist before bedding in new brakes
- Rotor cleaned with a dedicated cleaner or isopropyl alcohol.
- Pad friction surfaces not touched with bare fingers.
- Caliper centred, with no excessive rubbing.
- Rotor and caliper bolts tightened to the manufacturer's specified torque.
- Firm lever feel, with no air in the hydraulic system.
- Wheel properly seated on the axle.
- A safe area for repeated acceleration and braking.
How to tell whether bedding-in was successful
| Sign | Interpretation | What to do |
|---|---|---|
| More bite after several braking cycles | Correct bedding-in. | Continue progressively and allow to cool. |
| Initial slight squeaking | It can be normal. | Continue bedding in if there is no contamination. |
| Persistent loud squealing | Possible contamination or glazing. | Clean the rotor and inspect the pads. |
| Firm lever feel but little braking power | Pad poorly bedded in or glazed. | Check surface, gently sand or replace. |
| Strong vibration | Warped or contaminated rotor, or uneven material transfer. | Inspect the rotor and caliper. |
What to do if the pads are already glazed
If the brake squeals, lacks bite and the pad surface is shiny, you can try to restore it, but this does not always work. It depends on contamination, the temperature reached and the condition of the material.
Clean the rotor
Use brake cleaner made specifically for bicycles, or isopropyl alcohol. Do not use oily degreasers.
Inspect the pad
If it is shiny, you can very lightly sand the surface with fine sandpaper on a flat base.
Bed in again
Bed in progressively. If the noise or lack of braking power persists, replace the pads.
Quick pre-ride eMTB brake procedure
| When | What to do | Objective |
|---|---|---|
| Before you leave | Inspect rotors, calipers and lever feel. | Avoid installation problems. |
| First 5 minutes | Gentle, progressive braking. | Check lever feel. |
| Main bedding-in stage | Repeat braking from moderate speeds without coming to a complete stop. | Bed in the pads and rotors. |
| After | Ride gently and allow to cool. | Avoid thermal peaks. |
| First descent | Do not go straight to race pace. | Confirm actual braking power. |
Conclusion
Brake bedding-in is not a pointless ritual. It is a critical part of fitting pads and rotors, especially on an eMTB. Proper bedding-in improves braking power, feel, quietness and thermal stability. Poor bedding-in can cause glazing, noise and a lack of bite from day one.
The method is simple: a safe area, repeated braking, moderate speed, no wheel locking, no stopping with a hot rotor, and time to cool down. If braking power increases progressively and the noise disappears, the job is done properly.
Have you used this bike, motor or component?
Join eRIDERSeMTB on Telegram to discuss real experiences with other riders: Bosch, Avinox, Shimano, deals, faults and buying decisions. The community currently speaks Spanish.
Join TelegramAdvertisement / sponsored link
Advertisement / sponsored link
Advertisement / sponsored link
Advertisement / sponsored link



Great article! Properly bedding in brake pads and rotors is an important step that riders sometimes overlook. Consistent braking performance is especially important on steep descents and technical trails. It’s also a good reminder to follow the manufacturer’s recommendations and check the brakes regularly for safe riding.