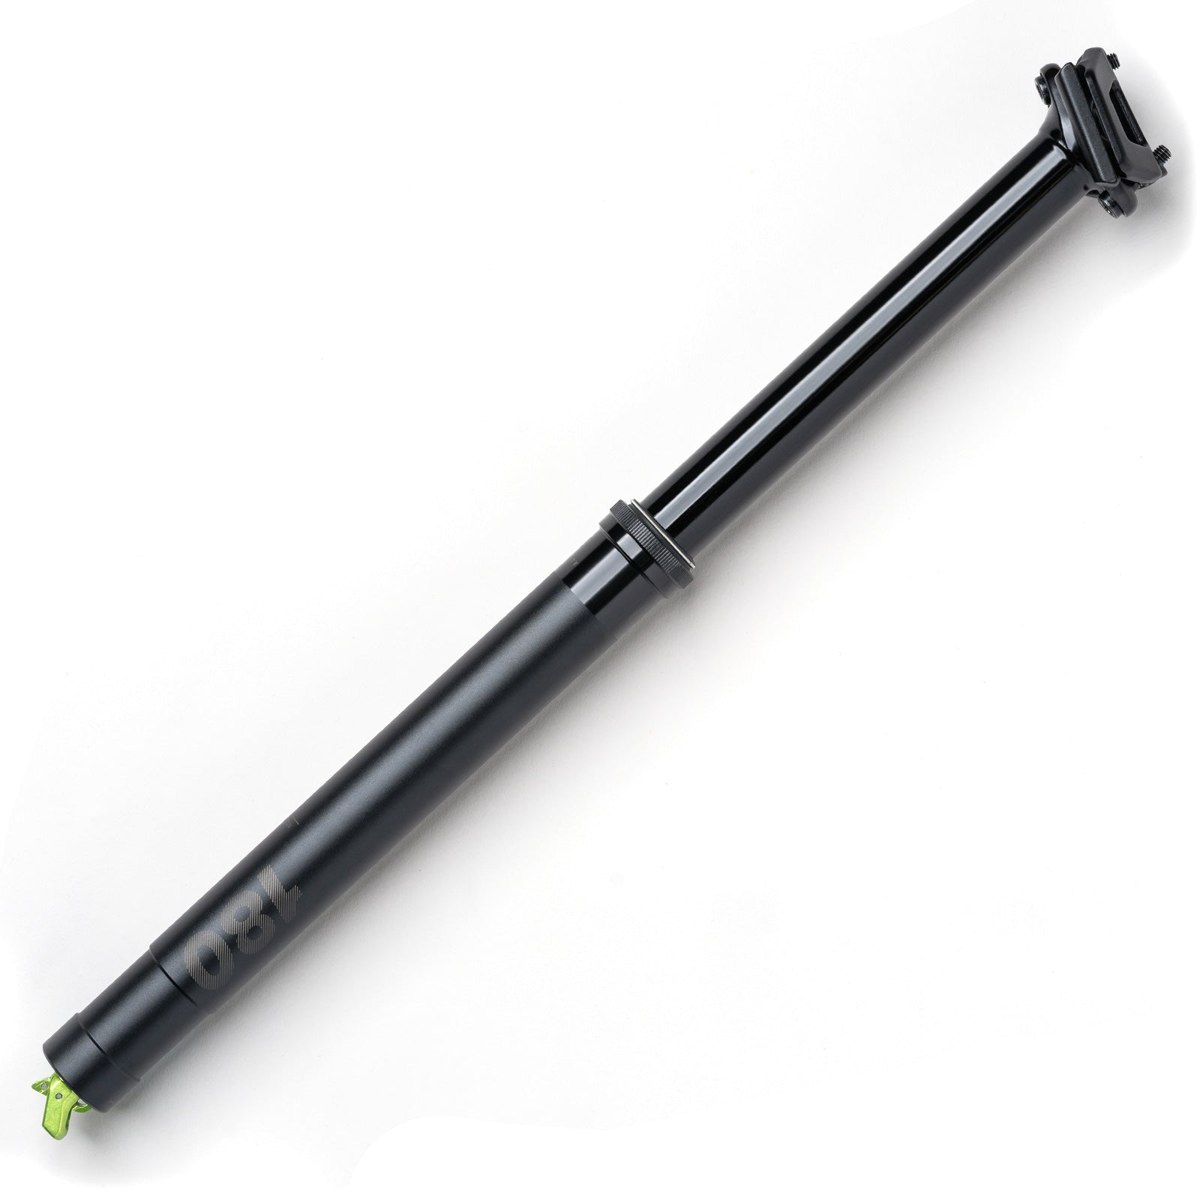
OneUp V3 dropper: travel, fit and maintenance
European specifications and prices are quoted. Availability and final prices may differ in the U.S. and other markets.
Technical guide · September 2026
Advertisement / sponsored link
Dimensions, insertion examples, V3/V3.1 differences and service guidance: choose a dropper without getting caught out by a few millimeters.
The right size lets you pedal and descend comfortably
A longer dropper is not automatically a better upgrade. Fully extended, it must put the saddle at your pedaling height; fully lowered, it must provide the clearance you need without being forced into the frame. The OneUp V3 is interesting because its range of lengths and travel adjustments lets you assess both requirements. Start with a tape measure, not the biggest number in the catalog.
Consider two situations. You may have plenty of space between frame and saddle but limited insertion depth. Or you may have a deep seat tube but need little exposed post. In the first case, insertion is the limiting factor; in the second, extended height is. Choosing by frame size or rider height alone does not distinguish these cases.
This guide uses dimensions published by OneUp as of September 8, 2026, with calculation examples. They are a way to prepare for a purchase, not a substitute for checking your actual frame. When clearance is tight, confirming a few millimeters with a dealer is better than discovering the problem after cutting the cable housing.
Which V3 are you comparing?
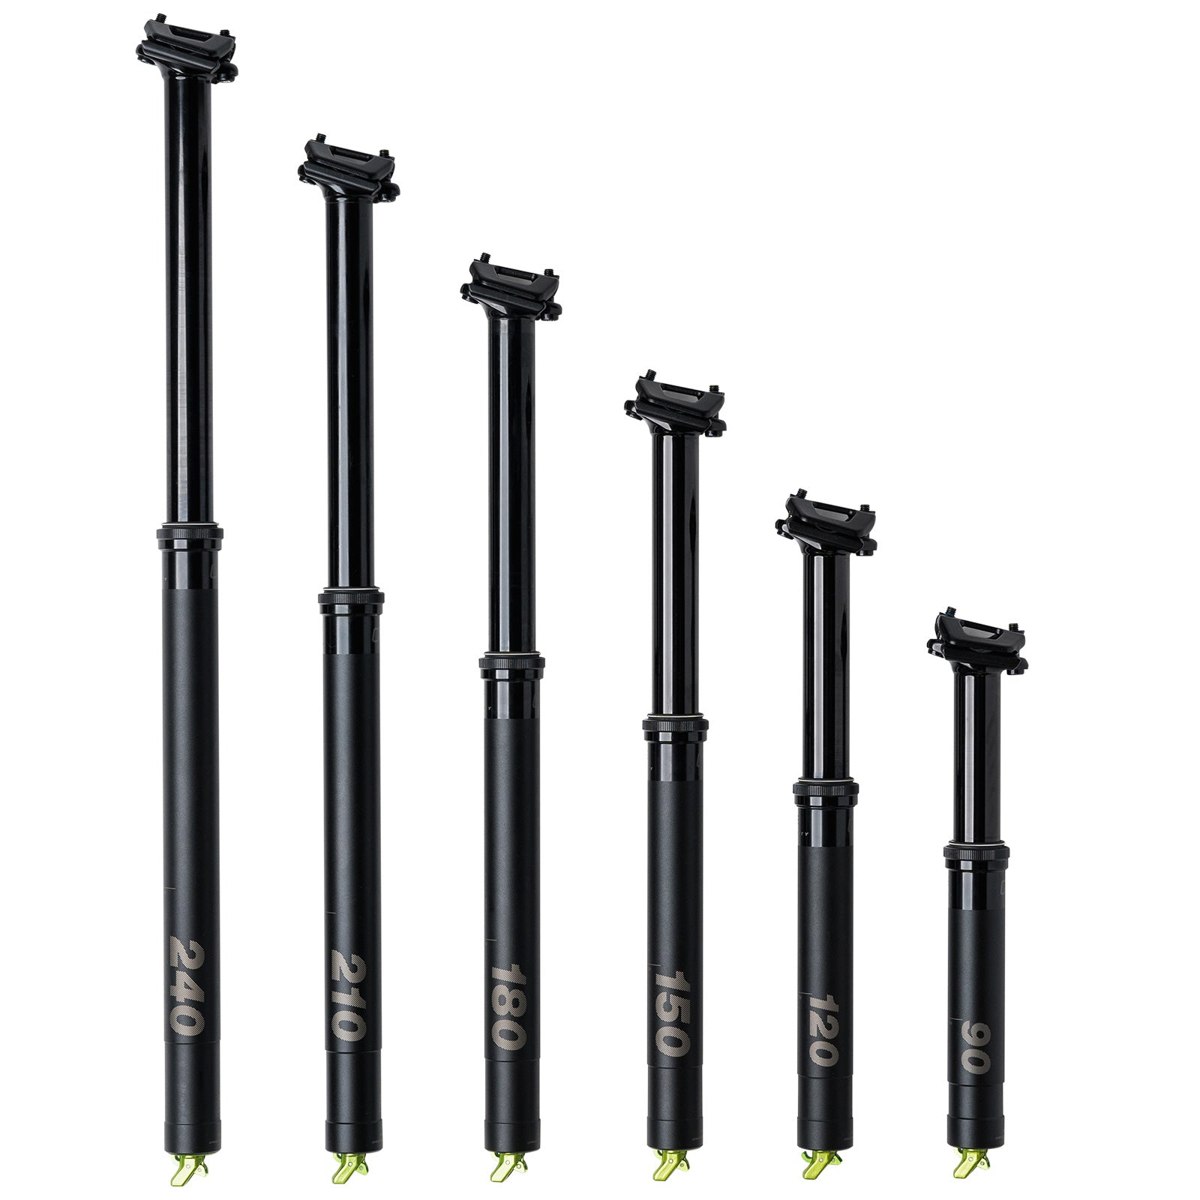
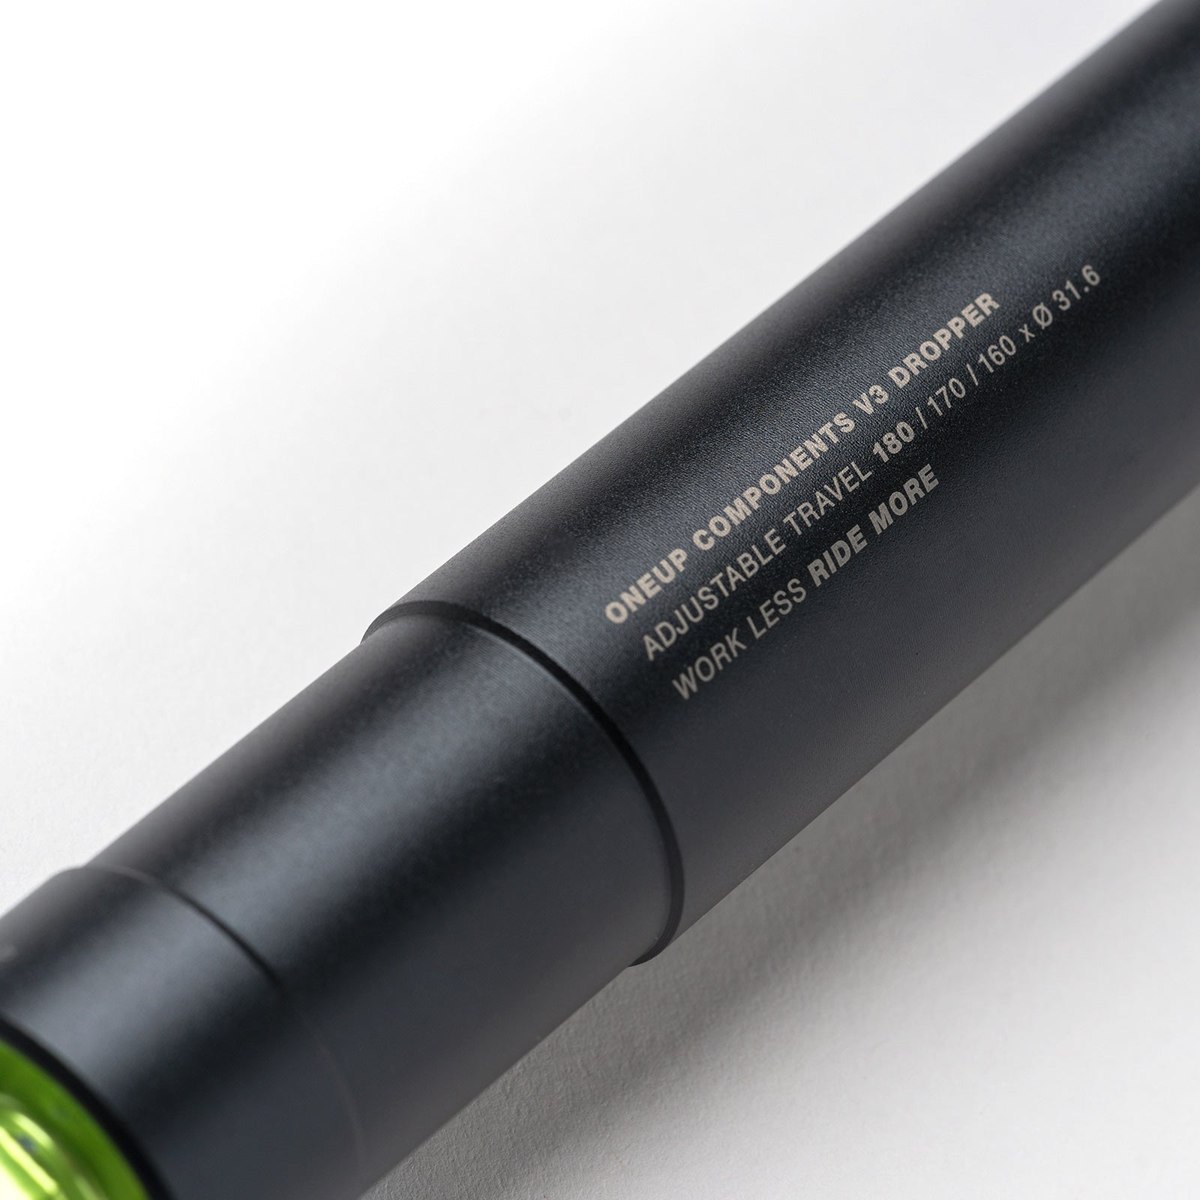
The European V3 range offers 90/120/150/180/210/240 mm travel and 30.9/31.6/34.9 mm diameters. The 27.2 mm version is available only with 90/120 mm travel. Travel can be reduced by 10/20 mm. Compressed stack height is 30 mm, or 25 mm for the 34.9 mm version.
Advertisement / sponsored link
First check the seatpost diameter your frame accepts. Do not infer it from the seat tube's external appearance. If using a reducing shim, confirm compatibility and minimum insertion requirements with the relevant manufacturers. Establish a complete specification, such as 31.6 mm diameter and 180 mm nominal travel, before comparing offers.
The range photo illustrates the differences; it does not show one post with six selectable travel settings. Likewise, do not apply an advertised weight to every version. Diameter, length and revision affect the quoted figure. For travel selection, useful saddle clearance usually matters more than an incomplete comparison of grams.
The two measurements to take on your bike
The official selector asks for the distance from the top of the frame's seat clamp to the center of the saddle rails at your pedaling height. It also asks for the depth available before an internal obstruction. OneUp recommends subtracting 10 to 15 mm from that depth to avoid an excessively tight cable bend.
Before measuring, restore the saddle position you actually use for pedaling. If the bike is new and you are still finding your position, immediately buying the maximum travel adds uncertainty. Mark a provisional height, confirm it over several rides and note your saddle model. A later saddle with a different stack height can change the available measurement to its rails.
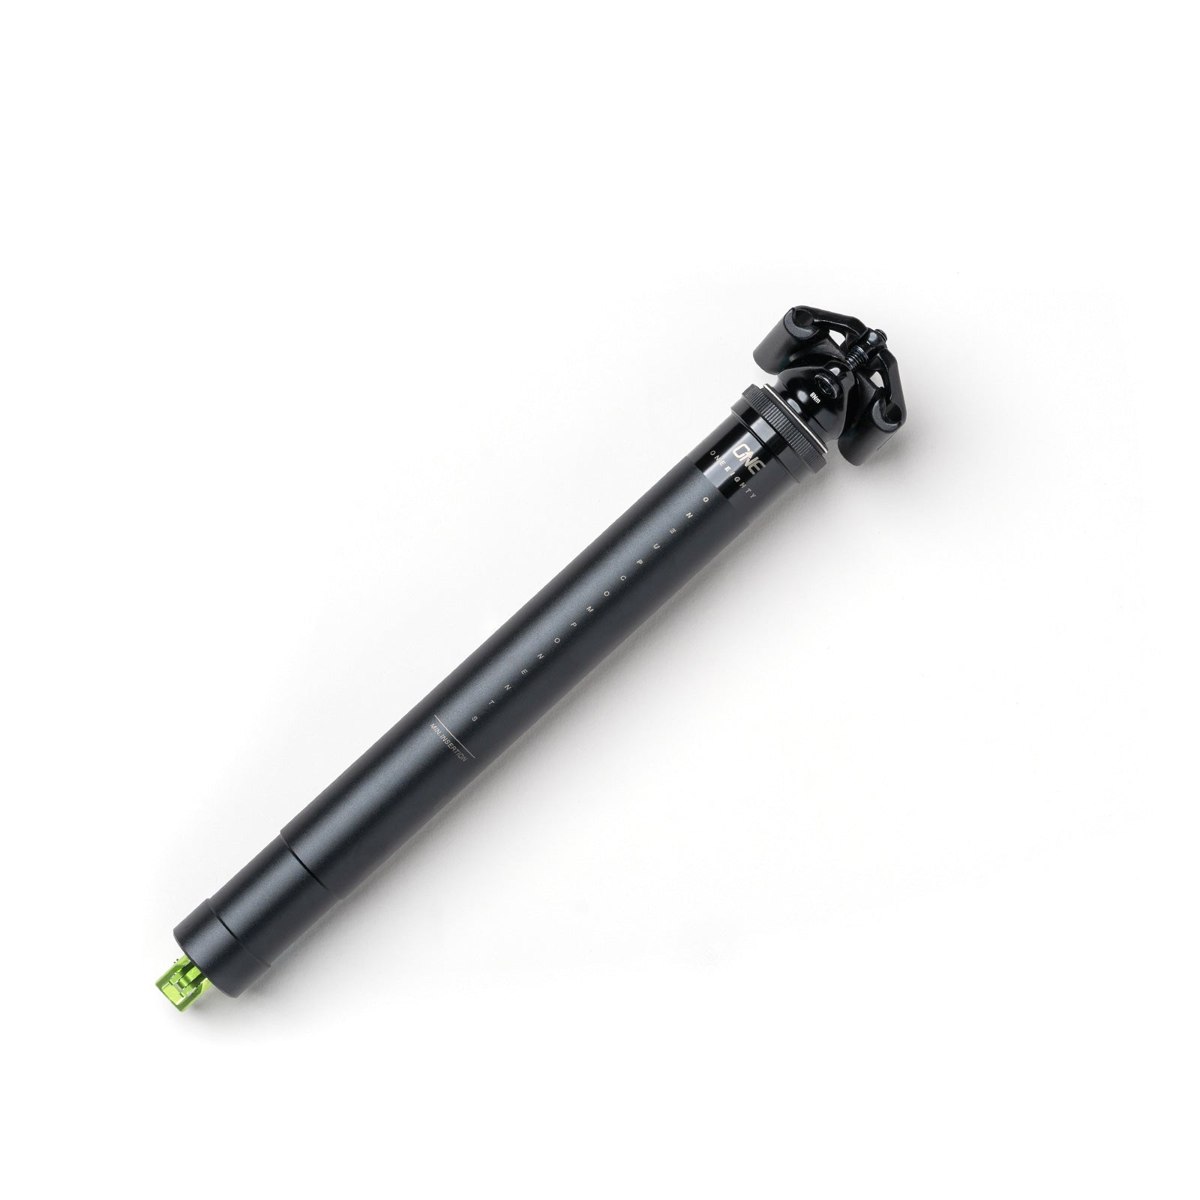
Do not blindly insert a metal tool among an eMTB's cables or components. If you cannot safely check inside, obtain the documented insertion depth for your frame size or let a workshop measure it. Record raw depth and usable depth separately, so you know whether the clearance allowance has already been subtracted.
Read the current chart without mixing in older documents
The current gallery's dimensional chart distinguishes overall length A, extended height above the collar B and minimum insertion C. Here are four common sizes for the versions shown with a 30 mm compressed stack. Check the 34.9 mm version's particular stack before extrapolating B.
| Nominal travel | A: overall length | B: exposed height | C: minimum insertion |
|---|---|---|---|
| 150 mm | 424 mm | 180 mm | 100 mm |
| 180 mm | 489 mm | 210 mm | 115 mm |
| 210 mm | 551 mm | 240 mm | 130 mm |
| 240 mm | 616 mm | 270 mm | 145 mm |
There is a discrepancy worth noting: the product page still links to an older chart with different overall lengths. Do not mix rows from the two. For a new purchase, use the current selector and confirm dimensions for the exact supplied part; for a used post, identify and measure that particular unit.
Column C does not tell you the maximum insertion depth. It is the minimum length the post requires inside the frame, and the frame may require more. That distinction helps avoid an installation that appears to fit but has insufficient support.
Two examples showing why a dropper may not fit
Assume 230 mm from the seat clamp to the rails and 280 mm of usable insertion, with the clearance allowance already removed. For the current 180 mm travel row, B is 210 mm. That leaves 20 mm of the lower tube above the clamp. Required insertion is A minus the available saddle height: 489 minus 230, or 259 mm. Geometrically, that fits within 280 mm, provided the frame's minimum insertion requirement is also met.
Now keep the same 230 mm outside, but reduce usable depth to 250 mm. The same post needs 259 mm inside, so it is 9 mm short of fitting. Reducing travel from 180 to 170 mm changes A to 479 mm and B to 200 mm according to the chart, giving a calculated 249 mm insertion. It is mathematically possible, but leaves just one millimeter against a potentially imperfect measurement. Get a physical fit check before buying.
Advertisement / sponsored link
Advertisement / sponsored link
The practical lesson is simple: reducing travel changes extended height; it does not turn the lower body into a shorter one. Use the arithmetic to rule out options and prepare alternatives, not to overcome an obstruction by pushing harder.
Remote, cable and frame space work as a system
According to the V3 specification, remote and clamp are sold separately. The post works with remotes that clamp the cable with a bolt; OneUp offers a kit for other types. Check what you can reuse before pricing the complete upgrade.
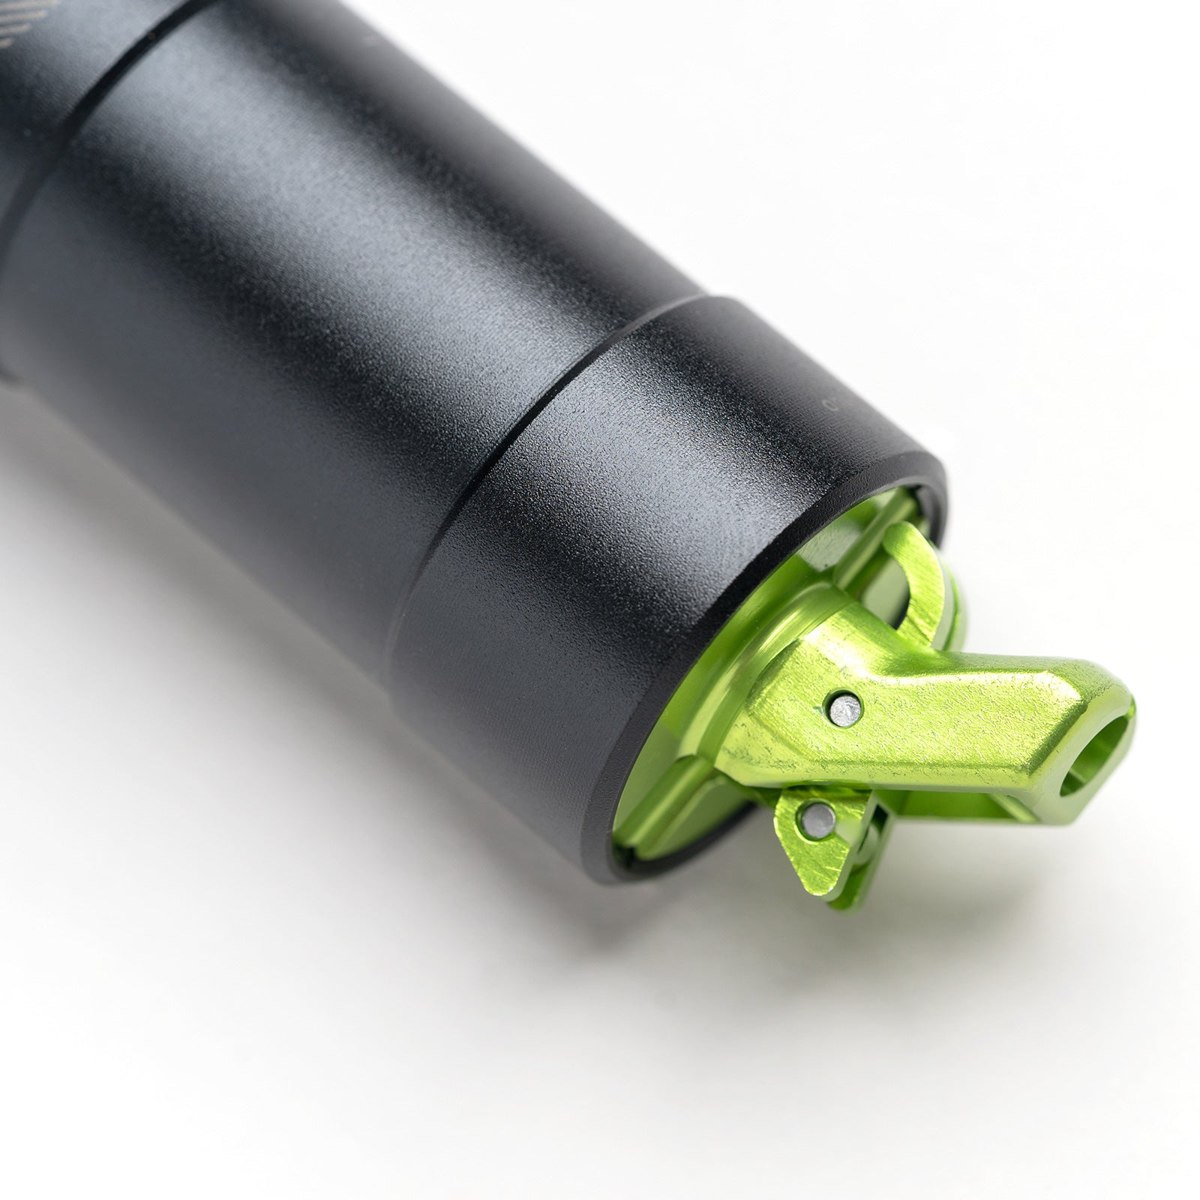
Before choosing a remote clamp, look at your motor controller, brake and other cockpit controls. Your thumb should reach the lever without repeatedly moving your hand. A compatible brake adapter can save space, but check the exact mounting standard: a brake brand name does not identify every attachment system it uses.
Include cable, housing, end caps and any work needed for internal routing in the budget. After installation, test operation with the handlebar turned both ways, and check that moving the post up or down in the frame does not pull the housing tight. Repeat that check if you change saddle height later. A position change can affect previously correct routing.
Do not confuse saddle-clamp torque with seat-clamp torque
Before removing the saddle, record its tilt and rail position. Restoring both reduces the number of variables when trying a new post; otherwise, discomfort caused by moving the saddle may be blamed on the dropper. Inspect the rails and supporting surfaces before tightening the assembly.
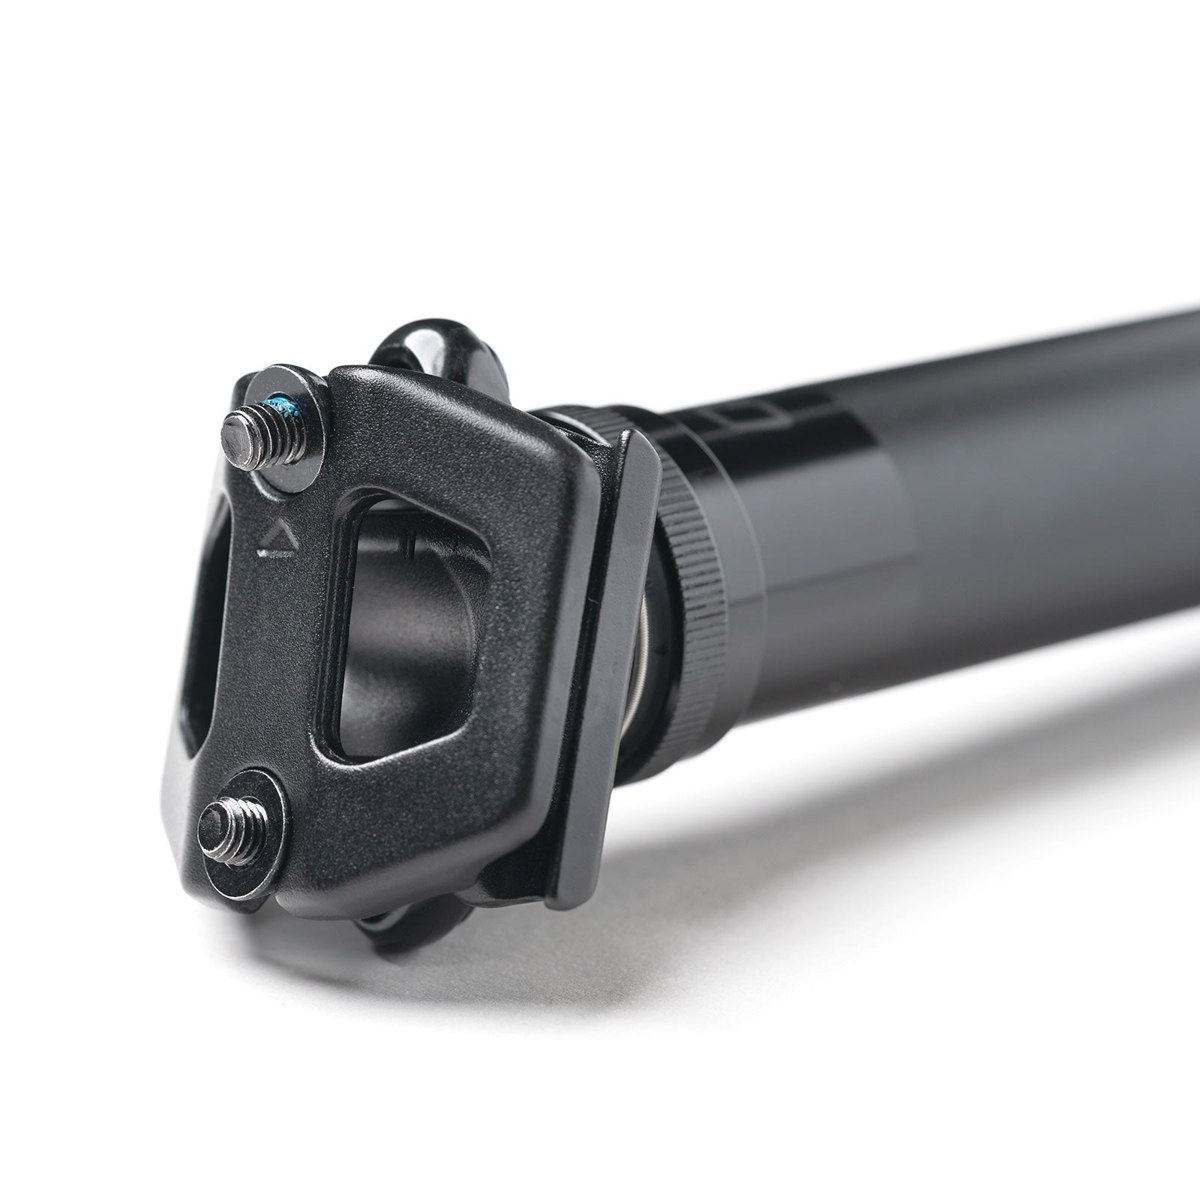
The V3 rebuild procedure specifies 8 Nm for the saddle-head attachment and 3 Nm for certain cartridge and actuator joints. Those are values for specific parts in that procedure. Do not use 8 Nm as a general frame seat-clamp torque: follow the approved combination of frame, clamp and post.
Before using a torque wrench, make a short list of the joints, values and sources. If you cannot identify which bolt an instruction means, locate it in the exploded diagram. Accurately applying the wrong value is still a mistake. After installation, confirm that the saddle stays in place and the post moves through its travel without new resistance.
V3 and V3.1: identify the bushing before reducing travel
OneUp distinguishes two upper assemblies: the original V3 has a beige IGUS bushing, while the V3.1 update uses a shorter black bushing and a brass ring. Identification is explained in the cleaning and greasing guide. The V3 name in an advertisement does not, on its own, identify what you will find inside.
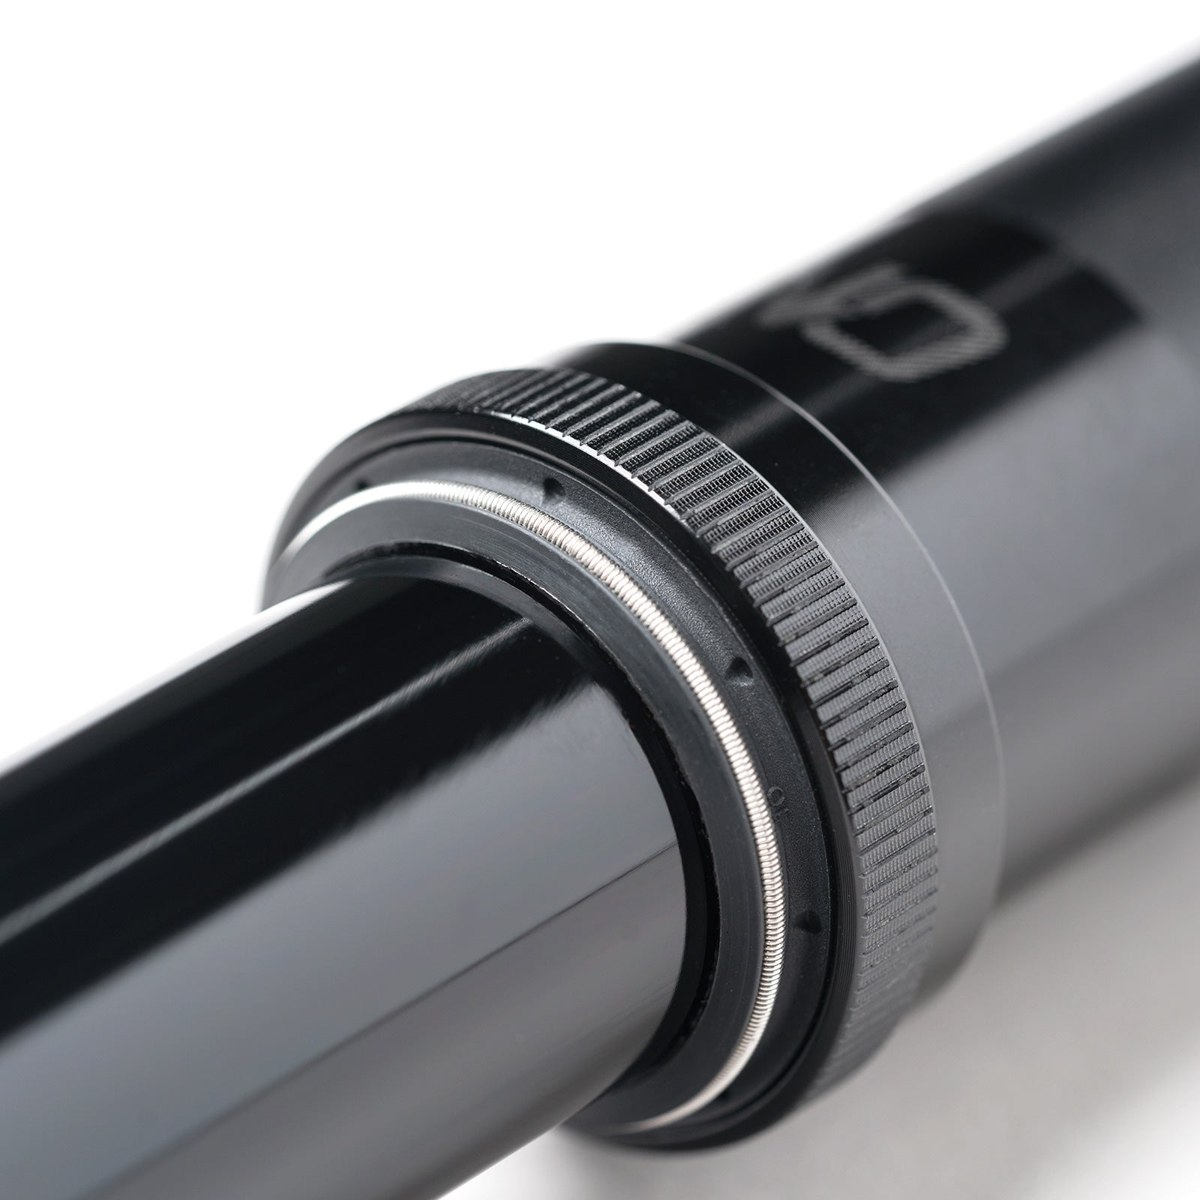
The brand publishes specific V3.1 instructions dated August 2026. In that procedure, the cartridge is released from the upper tube to access the travel-reduction pin guides. Do not combine the opening steps for one version with the closing steps for another because their photos look similar.
Before starting, gather the correct manual, recommended grease, tools and a clean work surface for organizing parts. Photograph the assembly before removing components. If a part does not match the diagram, stop and confirm its identity. The objective is to correctly reassemble your particular version, not to beat the brand's advertised service time.
Understanding OneUp's published service intervals
The European product page contains different service guidance: it advertises cleaning at 120 hours and a rebuild at 350, while its FAQ lists the upper bushing every 25 hours, cleaning every 75–100, and a rebuild every 250–350. Clarify which service is meant instead of automatically choosing the longest interval.
The quick-grease guide allows that job to be done on the bike and relates frequency to conditions. Our conservative editorial approach is to plan simple inspections using the more frequent guidance and confirm the appropriate service for your unit and use with technical support. Include mud, dust and washing habits in that conversation.
If you ride twice a week for roughly two hours each time, 25 hours is approximately six weeks. Record the date and accumulated hours after servicing. A three-part log of date, operation and subsequent behavior is more useful than assuming you will remember. Seek advice sooner if behavior clearly changes: a calendar cannot diagnose a fault.
Slow return: describe the problem before replacing parts
If return becomes slow, note whether it happens throughout travel, only near full extension or after washing. Check whether it began after changing saddle height, housing or clamp torque. That timeline can prevent unnecessary disassembly. Do not automatically blame the cartridge: several causes can feel similar.
The OneUp V3 uses a sealed cartridge that does not need its air pressure topped up. Looking for an inflation pressure as a universal fix therefore does not match this design. Diagnosis should distinguish cable and actuator operation, frame clamping, cleanliness of sliding parts and internal condition. Follow the applicable official procedure when checking a component, then verify installation again before riding.
When asking about spares, provide diameter, travel, bushing revision and photos of the issue. Identify the exact part or kit rather than buying anything with V3 in its name. Serviceability has value when you can obtain and correctly fit the right parts; an exploded diagram does not mean every worn component is fixed with the same kit.
Buying and maintenance questions
Should I always choose the selector's longest travel option?
It is an option, not an obligation. Consider adjustment margin, your established pedaling height and ease of installation. If compatibility depends on a borderline measurement, have the exact part physically checked before cutting cables or modifying anything.
Advertisement / sponsored link
Does reducing travel by 20 mm guarantee it will fit?
No. Recalculate height and insertion using the corresponding chart row, and check both post and frame minimums. Reduction can solve excessive extension height, but it does not remove internal frame obstructions.
Can I buy a used V3 using the new chart?
Identify and measure the actual post. Official documents show different dimensions and internal revisions. Ask for photos, dimensions and service history of the unit you intend to buy.
Can all maintenance be done at home?
The brand supplies procedures and exploded diagrams, but practical feasibility depends on tools and knowledge. You can handle inspection and external cleaning while leaving internal jobs to a workshop. That division of work does not diminish the value of available spare parts.
Sources and documentation
Information checked on September 8, 2026. Photographs belong to the identified manufacturers; specifications and availability may vary by market. Editorial analysis, not our own ride test.
- OneUp V3: current European store specification
- OneUp V3: current gallery dimensional chart
- OneUp V3: older chart still linked from the product page
- OneUp: dropper-post length calculator
- OneUp V3: quick grease and bushing identification
- OneUp V3.1: travel adjustment, August 2026
- OneUp V3: complete rebuild
Have you used this bike, motor or component?
Join eRIDERSeMTB on Telegram to discuss real experiences with other riders: Bosch, Avinox, Shimano, deals, faults and buying decisions. The community currently speaks Spanish.
Join TelegramAdvertisement / sponsored link
Advertisement / sponsored link
Advertisement / sponsored link