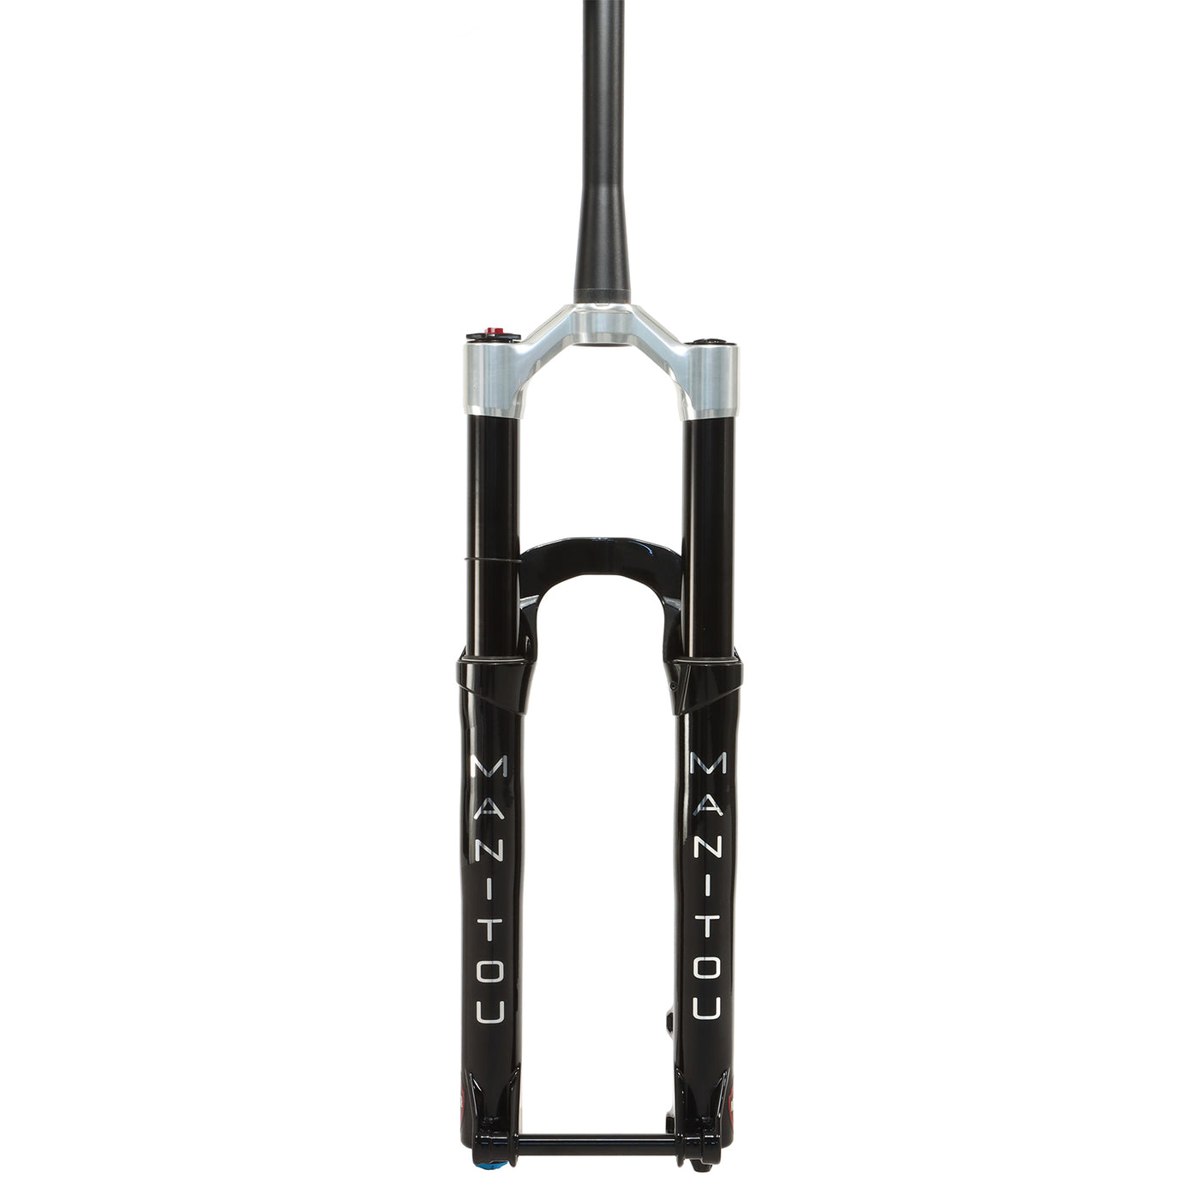
Manitou Mezzer Pro G2: IRT setup and Pro vs LT
European specifications and prices are quoted. Availability and final prices may differ in the U.S. and other markets.
Technical guide · September 2026
Advertisement / sponsored link
Identify the Mezzer Pro G2, compare Pro and LT, and work through air pressure, compression and rebound with a documented setup example.
The 2026 Mezzer is called G2
A Manitou Mezzer Pro offer may refer to more than one generation. Before comparing prices, ask for the exact fork reference and check that the documentation matches that unit. On a component with several adjustments, mixing setup charts can waste an afternoon chasing behavior that an inappropriate starting point makes impossible to assess.
Manitou introduced the Mezzer Gen 2 in May 2026. This guide focuses on the Pro G2, with the LT Pro G2 as an alternative when a different chassis or more travel is appropriate. It does not automatically carry over settings from the previous Mezzer Pro.
There are two buying questions: does the fork fit your eMTB, and do you want to learn to set it up? A comprehensive specification does not make every adjuster useful to every rider. Our approach is to choose the appropriate chassis first, then reserve time for a methodical setup. This is technical editorial analysis, not a claim of first-hand test mileage.
Advertisement / sponsored link
Pro and LT: look beyond stanchion diameter
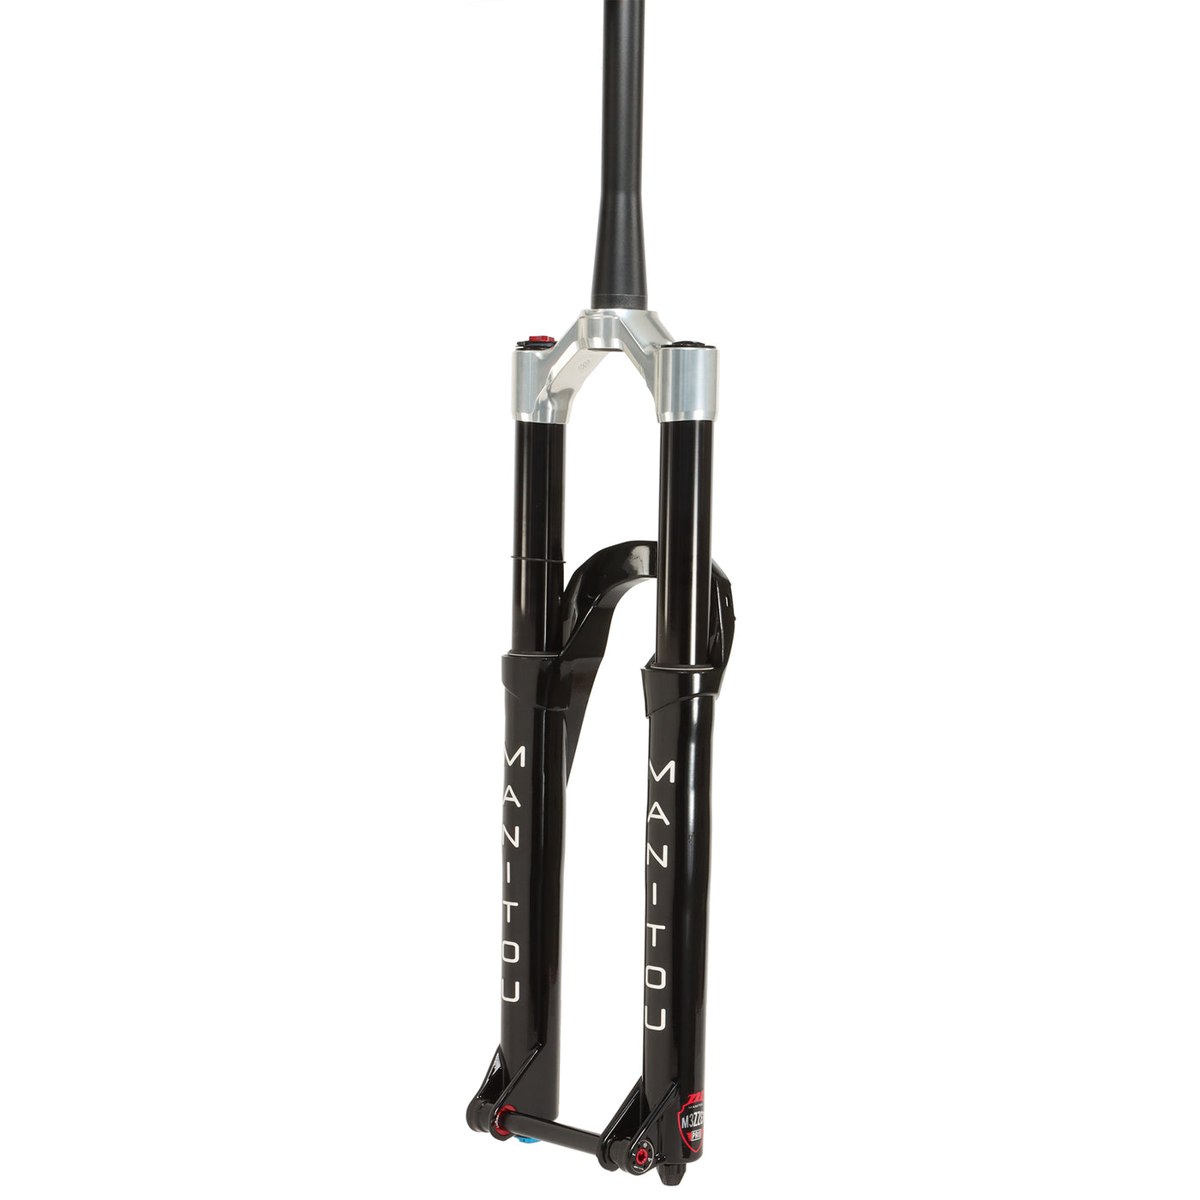
The European specification pages for the Mezzer Pro G2 and LT Pro G2 describe two 29-inch options with 37 mm stanchions. Sharing that diameter does not make their chassis, weight or intended application identical.
| Published specification | Pro G2 | LT Pro G2 |
|---|---|---|
| Travel | 140–170 mm | 150–190 mm |
| Claimed weight | 2,030 g | 2,220 g |
| Offset | 44 mm | 44 mm |
| Axle | 15 × 110 mm | 15 × 110 mm |
The claimed difference is 190 grams, calculated from those figures rather than weighed by us. For an eMTB used on varied routes, we would start with the Pro if its approved travel and intended use fit. For a longer-travel project or a preference for the LT chassis, we would examine that version without assuming bigger is better on every trail.
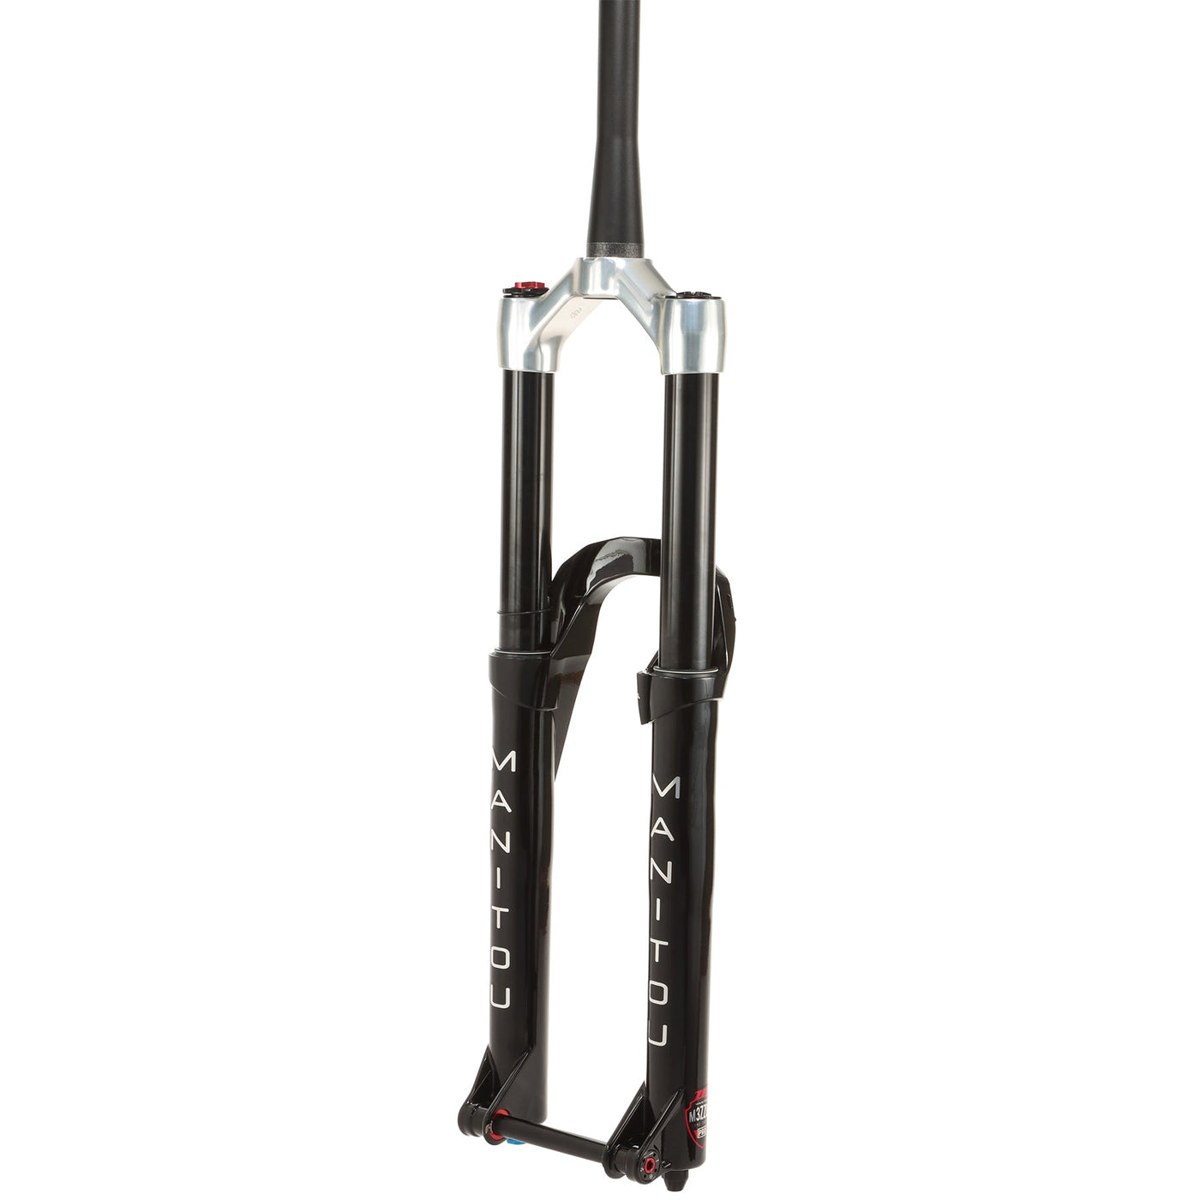
Where their travel ranges overlap, compare both at the same travel. Otherwise you may attribute a change in handling to the chassis when raising the bike's front end also contributed.
Travel, brakes and weight: check compatibility before fitting
A fork's adjustable travel does not authorize exceeding the frame manufacturer's limit. The bike manufacturer must approve the combination, and the workshop should check steerer length, axle, tire, brake and clearance. On a used fork, a steerer that has already been cut deserves attention before you pay.
The European Pro G2 specification lists a 180 mm Post Mount interface and a 223 mm maximum rotor. That is a fork specification: the actual rotor must also suit the brake, adapter and bike. A maximum size is not a requirement to use it.
There is an important discrepancy on the European LT product page: its introductory text associates 150 kg with ASTM 5, while the table lists 136 kg for ASTM 5 and 150 kg for ASTM 4. We would not use the most favorable figure to approve a borderline purchase. Ask for written confirmation covering the serial number and intended use.
For that inquiry, add the equipped rider, bike and luggage weights. In a hypothetical example, a 100 kg rider, 25 kg bike and 5 kg equipment total 130 kg. The calculation helps frame the question; it is not an approval for use.
Main pressure and IRT: record both settings
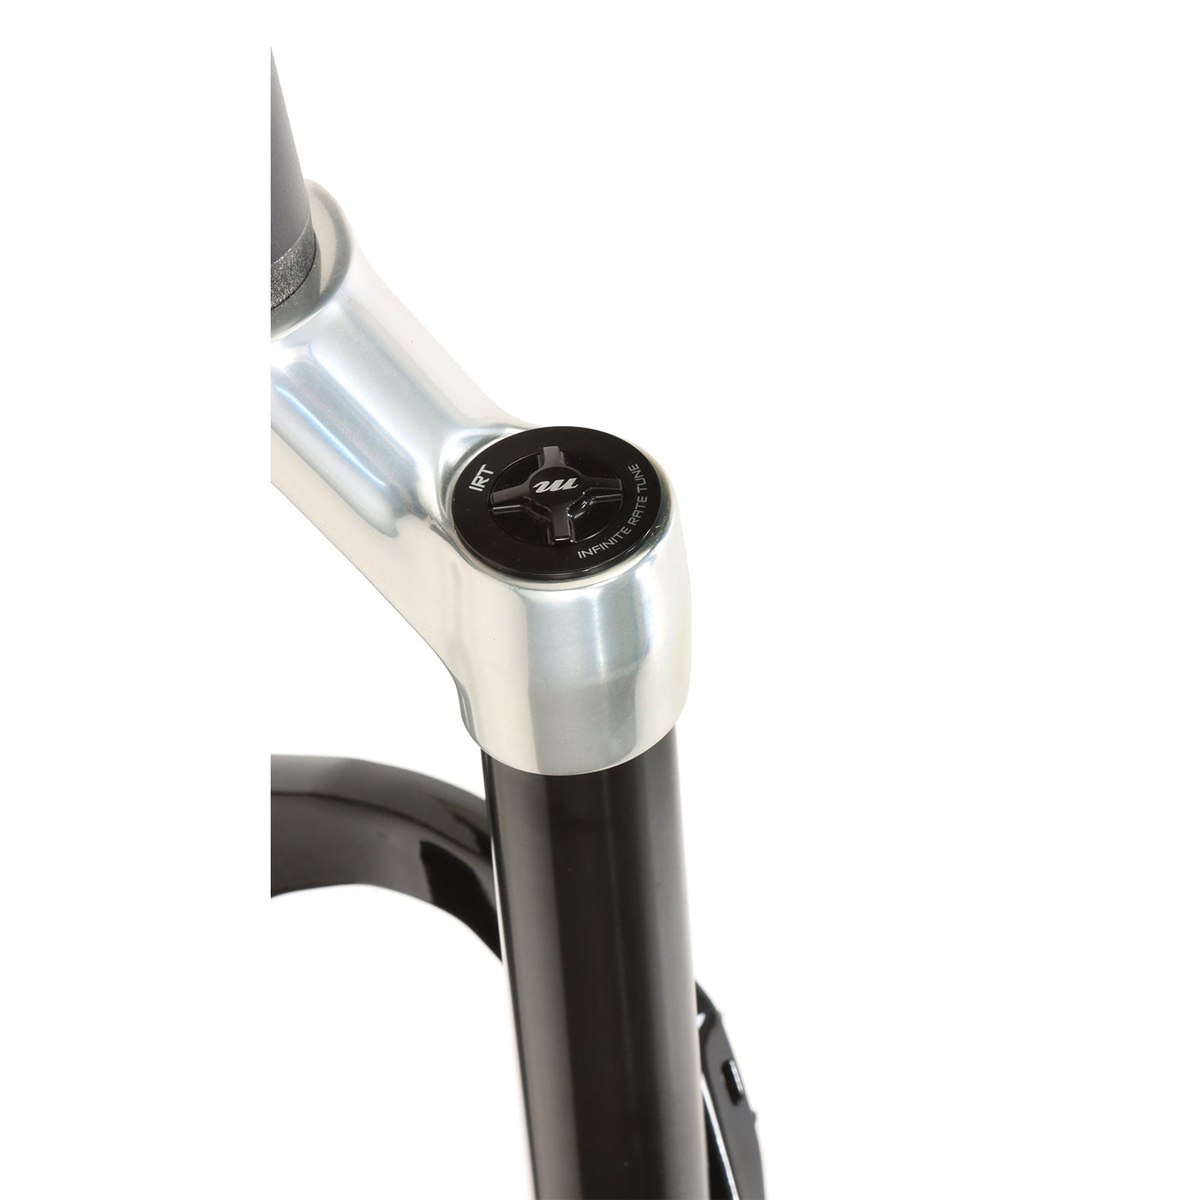
The Pro G2 uses Dorado Air with Active Spring Piston and IRT. Manitou describes ASP as a small coil spring incorporated into the air-piston assembly; it does not convert the entire fork to a coil spring. IRT provides an additional adjustment to the air spring's behavior.
Advertisement / sponsored link
For a methodical setup, record both pressures, travel and your equipped weight. Writing down only the fork pressure leaves an important part of the configuration undocumented. When making a change, also write down why: more support in a known compression, better comfort or investigation of a specific sensation.
The G2 service manual says to inflate IRT before the main chamber. Assembly pressures used during a repair must not be confused with riding settings. For riding, use the setup chart for your particular model.
Use the same pump and aim for repeatable measurement conditions. After a correction, return to the test section without changing other adjusters at the same time. Changing air, compression and tire setup in one stop makes it difficult to identify what caused the difference.
Advertisement / sponsored link
An 80 kg rider and 160 mm travel: a worked example
The G2 chart lists 55/83 psi for the 73–82 kg row at 160 mm, in main/IRT order. Its eBike correction is +3–4/+5–10 psi, giving resulting ranges of 58–59/88–93 psi.
Imagine an equipped 80 kg rider choosing 58 and 90 psi within those ranges. The next step is checking sag and assessing the fork on their own bike. Matching travel alone is not enough reason to copy someone else's setup. The guide suggests 20–25% sag and maximum pressures of 120/150 psi, main/IRT.
At 160 mm, that percentage means 32–40 mm: a direct calculation to help interpret the measurement. Repeat it several times, and avoid accepting a reading after accidentally loading the handlebar while getting off. Different body positions can make measurements hard to compare.
Save the result as your starting configuration. If you need to adjust it, you can return to a known state and distinguish a deliberate change from measurement variation. Record your fork's actual configured travel, particularly if it was altered before installation.
Compression: decide which movement you want to change
The Pro G2 and LT Pro G2 use MC² PRO-X compression damping. The setup guide associates low-speed compression with chassis movement and high-speed compression with rapid fork compression. These terms do not refer to your speedometer reading. The guide also explains that the two adjustments interact.
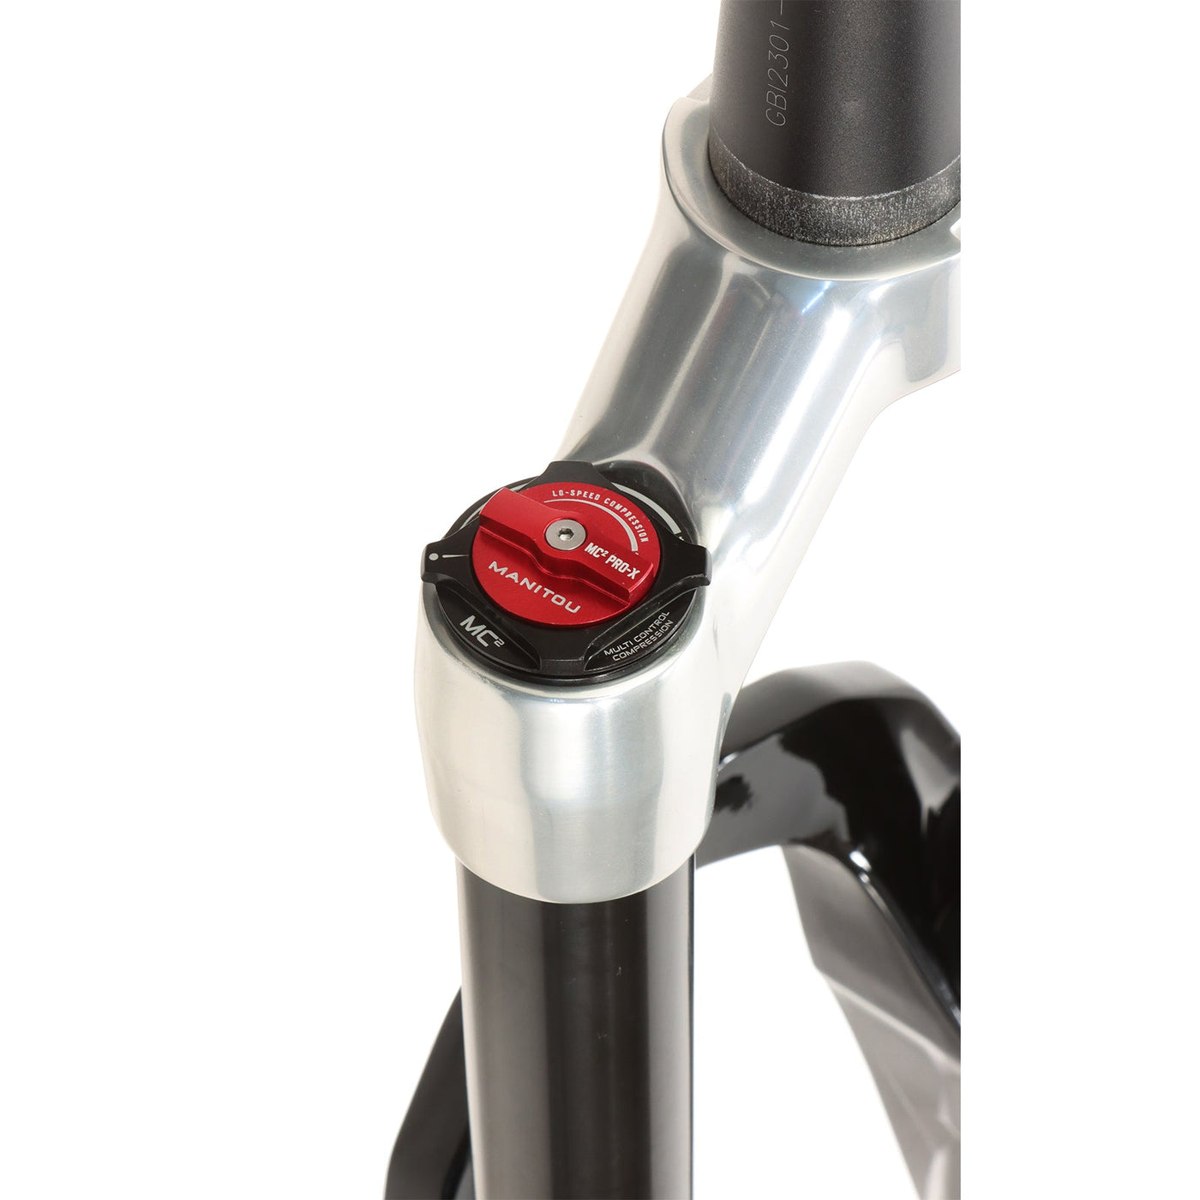
Before turning a dial, describe the situation. Saying it dives too far under braking into a particular corner gives you something repeatable to check. Saying it feels strange could involve the tire, riding position, air pressure or terrain; it does not identify a particular adjuster.
As an editorial test method, keep pressures unchanged and alter a single control by a small step within its adjustment range. Repeat a short section and note whether the original issue improves and what happens elsewhere. More support in one place may feel less comfortable in another; recognizing that trade-off is useful.
Do not force end stops while counting positions or chase a lockout that is not a stated purpose of the control. If a dial does not behave as expected, return to your recorded position and consult the manual for that unit before accumulating more changes.
Two rebound adjustments, one need for control
TPC² adds high- and low-speed rebound controls. The G2 technical introduction distinguishes them by recovery after different compressions. For a rider, the important observations are how the fork extends and whether the bike remains predictable through successive obstacles.
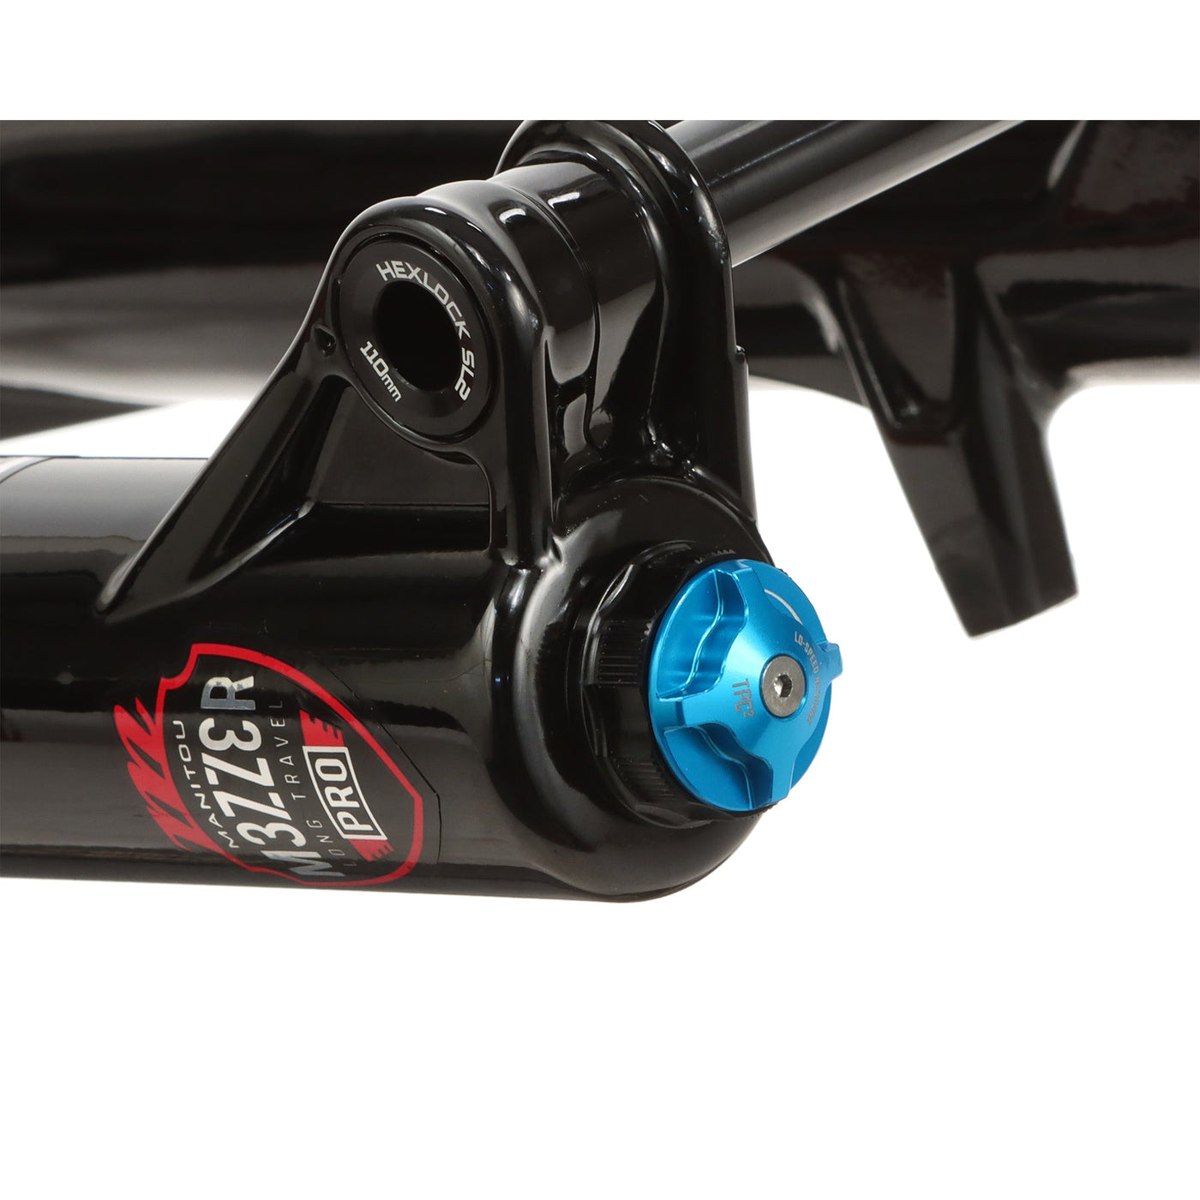
Start in an easy area where you can repeat the section without increasing risk. Do not begin with a large jump simply to test high-speed rebound. If that evaluation is needed and you lack setup experience, ask a specialist who can observe the bike and your riding.
Keep pressure and pace consistent while comparing settings. Record what you feel after the obstacle as well as during impact: whether the handlebar returns abruptly, the fork seems to stay low or support changes for the next movement. These are useful descriptions, not proof of a single cause.
After changing pressure, check recovery again before considering the setup finished. Your setup sheet should contain both rebound settings and the reference used to count them. An ambiguous note such as six clicks is not enough to reproduce a configuration.
A three-ride plan to establish your own baseline
On the first ride, focus on confirming that the bike operates normally with the initial setup. Pick a familiar route and avoid using its most demanding features as a test bench. Record comfort, support and travel used, alongside tires and carried load. That information describes the setting's context.
On the second ride, work on one problem and one adjustment. Use a short section you can repeat safely, comparing the initial and modified settings. If the difference is unclear, keep the initial setting rather than treating a small sensation as a definite improvement.
On the third ride, check your chosen setup on a more representative route. A setting that feels pleasant for three minutes may not be your preference for a long day. Also note hand fatigue and how easily you hold a line, without confusing a personal impression with measured performance.
A useful log includes date, travel, main and IRT pressures, compression, both rebound controls, tires and a short comment. Two complete configurations already give you a way back. Ten poorly documented combinations are often less useful than understanding one consistent baseline.
Changing travel and servicing are different jobs
Manitou publishes a specific G2 travel-adjustment guide with different procedures depending on the version. Supplied spacers do not make the adjustment a seconds-long external operation. Before buying a fork with a conversion in mind, confirm the required version, parts and labor with a workshop.
Advertisement / sponsored link
The general Manitou maintenance schedule distinguishes pre-ride checks, 50-hour tasks and 200-hour or annual servicing, with shorter intervals when conditions demand it. Confirm the exact scope against the G2 manual and the installed unit.
For someone riding four hours each weekend, 50 hours is roughly twelve or thirteen weeks, excluding other rides. An hours log helps schedule servicing before discovering that an entire year has passed. If you alternate bikes or have periods without riding, record dates as well.
The G2 manual also covers the ABB circuit, which is separate from the chambers used to adjust the air spring. Do not apply an IRT pressure to that circuit. Before buying, ask whether your workshop has this generation's documentation, tools and spare parts.
When an upgrade makes more sense than keeping your current fork
The Mezzer Pro G2 is worth considering when you need a fork compatible with your bike and are willing to spend time on setup. Before replacing your current fork, describe what you want to improve and check its service condition. A fair comparison requires components in equivalent operating condition.
Ask for a quote including installation, brake adaptation if needed, initial setup and subsequent servicing. For a purchase in Spain, confirm the final tax-inclusive price, shipping, availability of your travel option and responsibility for installation. A shop price from another market may not represent an equivalent total.
Between Pro and LT, our editorial choice starts with approved travel, load and intended use. Then we consider mass and the appeal of the LT chassis. We would not claim one is universally superior without testing them under comparable conditions.
If your current fork works well and the remaining issue is learning to set it up, investing in setup first may clarify the improvement you need. If you have a specific limitation that a compatible Mezzer installation addresses, there is a reasoned case for upgrading beyond counting adjusters.
Mezzer Pro G2 questions answered
Can I use an older Mezzer Pro setup chart?
Use the documentation specific to G2. Establish the generation before transferring pressures or dial positions: the Mezzer Pro name alone is not enough.
Should I use full travel on every ride?
We would not treat the travel indicator as an isolated target. Control on the trail matters. Lowering pressure simply to push an O-ring to the end can compromise other aspects of setup; first assess what happens on your actual terrain.
Does the LT allow more travel on any eMTB?
No. Its adjustment range does not extend the frame manufacturer's approval. Check the bike and fork as a system before choosing a new travel setting.
What would we do if we could not find a comfortable setup?
Return to a documented configuration and check installation, pressures and test conditions. If abnormal behavior persists, consult technical support with your notes. Do not automatically assume a fault or keep turning dials without a baseline.
Sources and documentation
Information checked on September 8, 2026. Photographs belong to the identified manufacturers; specifications and availability may vary by market. Editorial analysis, not our own ride test.
Have you used this bike, motor or component?
Join eRIDERSeMTB on Telegram to discuss real experiences with other riders: Bosch, Avinox, Shimano, deals, faults and buying decisions. The community currently speaks Spanish.
Join TelegramAdvertisement / sponsored link
Advertisement / sponsored link
Advertisement / sponsored link