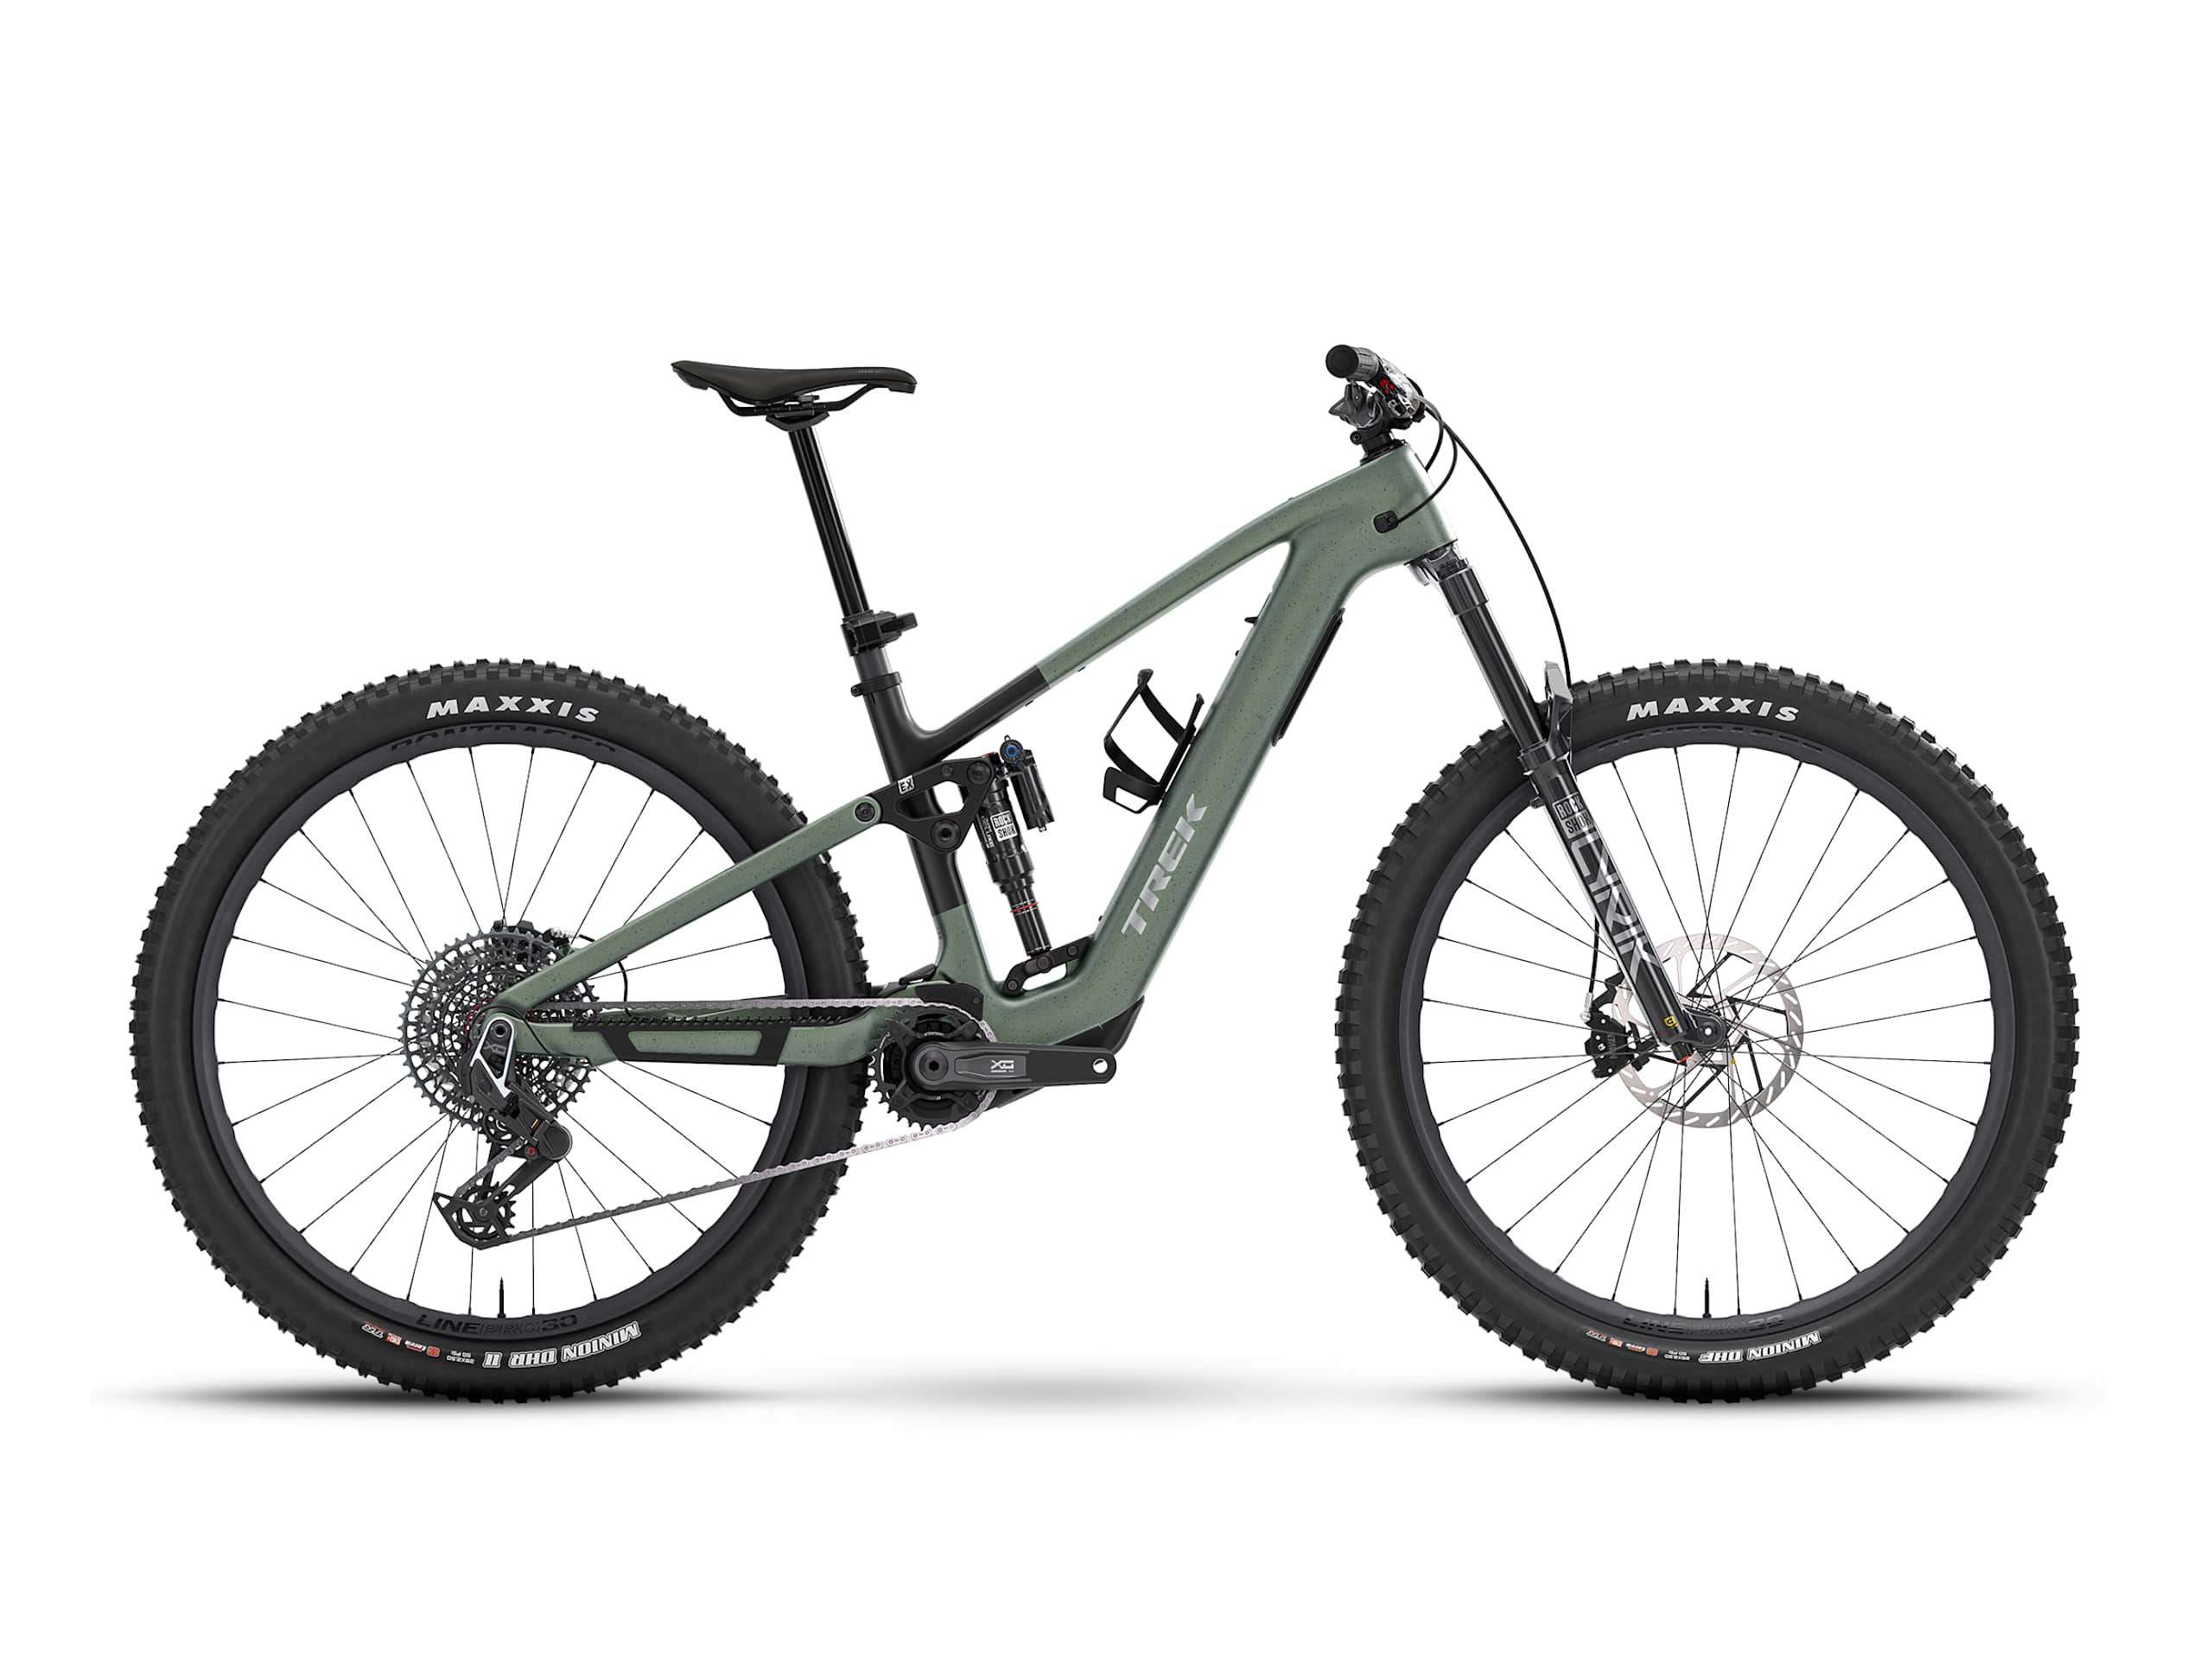
Trek Fuel+ 2026: choosing the right EX, MX or LX
Technical guide · eMTB PRO
Three configurations, one frame and decisions that matter: wheels, suspension, the TQ HPR60 motor and conversion requirements. A buying guide with special attention to size S.
Advertisement / sponsored link
EX, MX and LX: understand the family before comparing prices
Buying a Trek Fuel+ by looking only at the motor overlooks the decision that will most affect its use: wheel and suspension configuration. This guide analyses the Gen 2 platform in the 2026 range. It does not announce a launch today or replace a ride test. It separates official data from our buying assessment to help you order the right bike from the outset.
The central idea is simple: the three variants share an adaptable platform, but are not the same bike with different stickers. The references from Trek for the Fuel+ family allow to sort the differences:
| Configuration | Front / rear wheels | Front / rear travel |
|---|---|---|
| EX | 29 / 29 inches | 150 / 145 mm |
| MX | 29 / 27.5 inches | 160 / 150 mm |
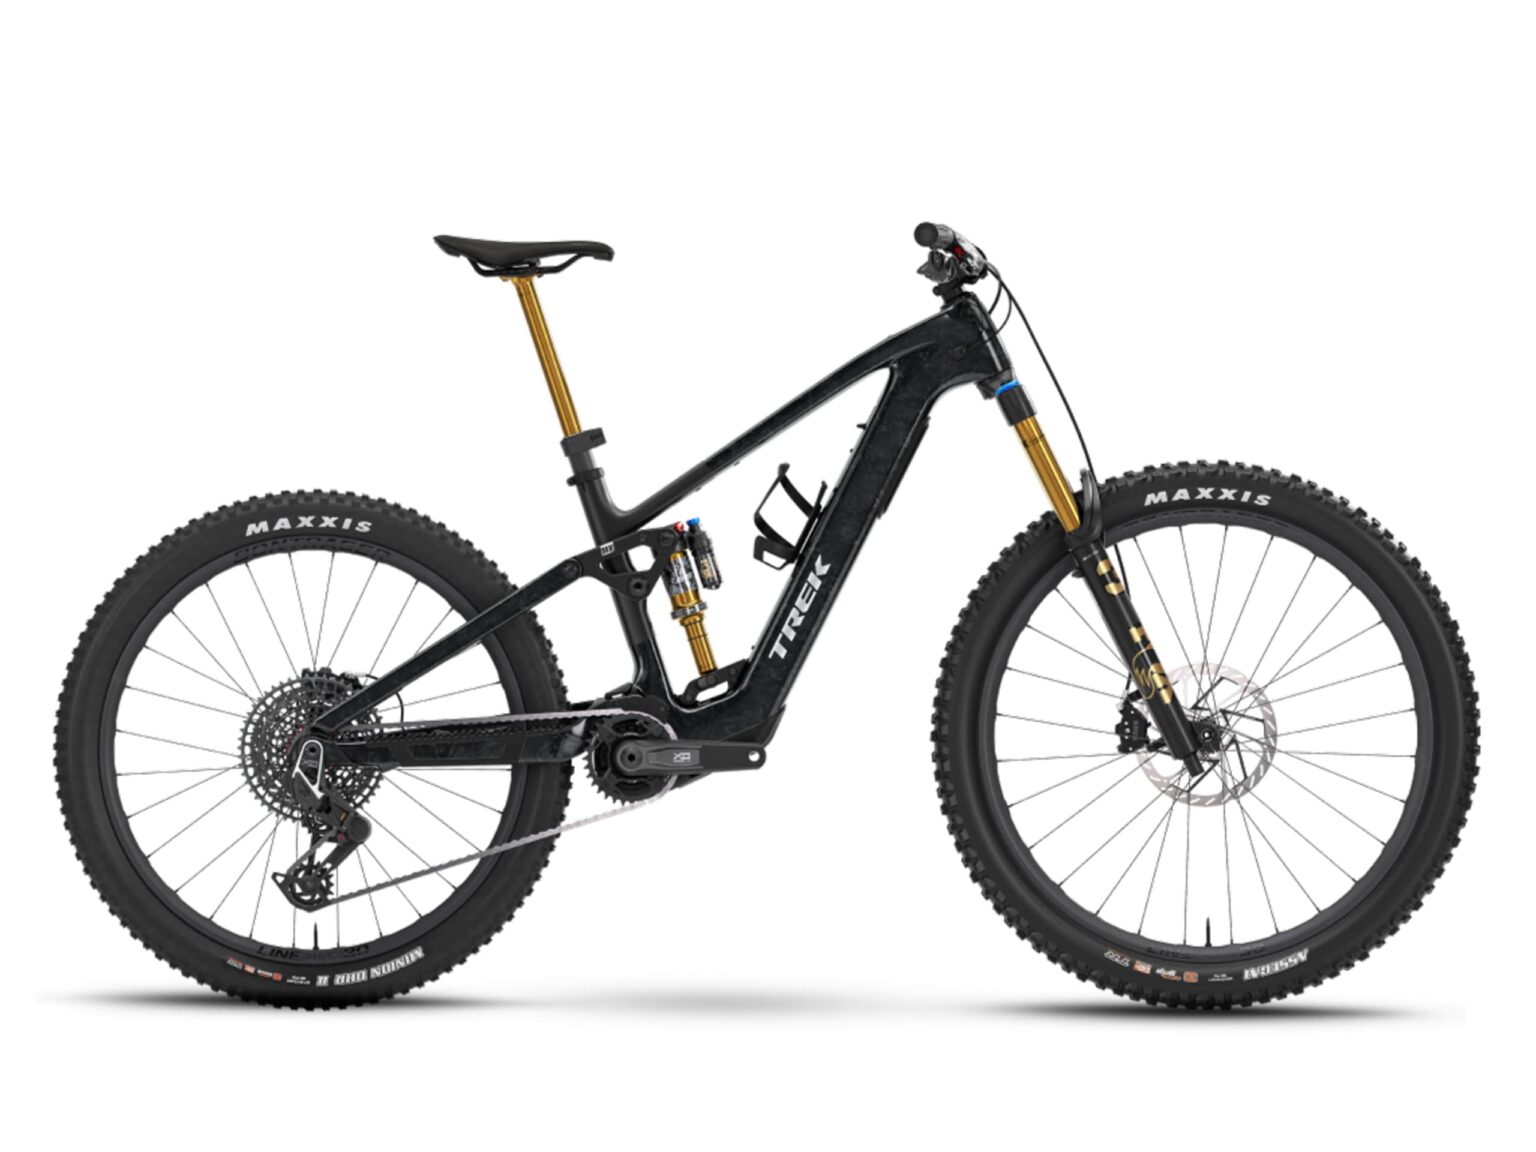
| LX | 29 / 29 inches | 170 / 160 mm |
Important exception: the standard size S EX uses 29/27.5 wheels and 150 mm travel front and rear, according to Trek technical questions. Do not buy an S assuming it matches the M's specification. Also check that the offer includes the '+' sign: Fuel and Fuel+ are not interchangeable names.
Use this table as a filter, not a podium. A longer-travel variant may be less suitable for your regular rides even if it costs more. The right decision must stand up to an uncomfortable question: are you buying for the trails you ride or those you would like to ride someday?
EX or MX: choose for your routes, not a trend
Our editorial starting point would be the EX for riders combining tracks, trails and rides of varying duration without a clear descending specialisation. This is not a verdict on handling: it starts the comparison with the family's least extreme configuration and asks for specific reasons to change it.
The MX deserves a specific test if mixed wheels interest you. Do not assume a smaller rear wheel will fix cornering technique, sizing or an excessively rearward position. Nor will it automatically be more fun for everyone. Wheel size is one variable in a complete system, not a universal cure.
Advertisement / sponsored link
For a meaningful comparison, find a familiar section: corner entry, an exit into a small climb and a moderate obstacle you can safely clear. Repeat at a comfortable pace and see whether you can place the bike where you want without constant corrections. You need not push the limit or time yourself. You need to know which bike requires less attention to ride well.
If the difference only appears when the seller explains which one you should like, postpone the change. A good purchase may be the choice whose size, tires and setup fit better, even if it seems less eye-catching on paper.
When the LX makes sense and when it has more travel than you need
The LX is the variant we would consider first if technical descents form a substantial, frequent and real part of your rides. That does not mean ruling it out for pedalling; it means justifying the package by more than its photograph. Think about your last ten routes, not just the summer holiday.
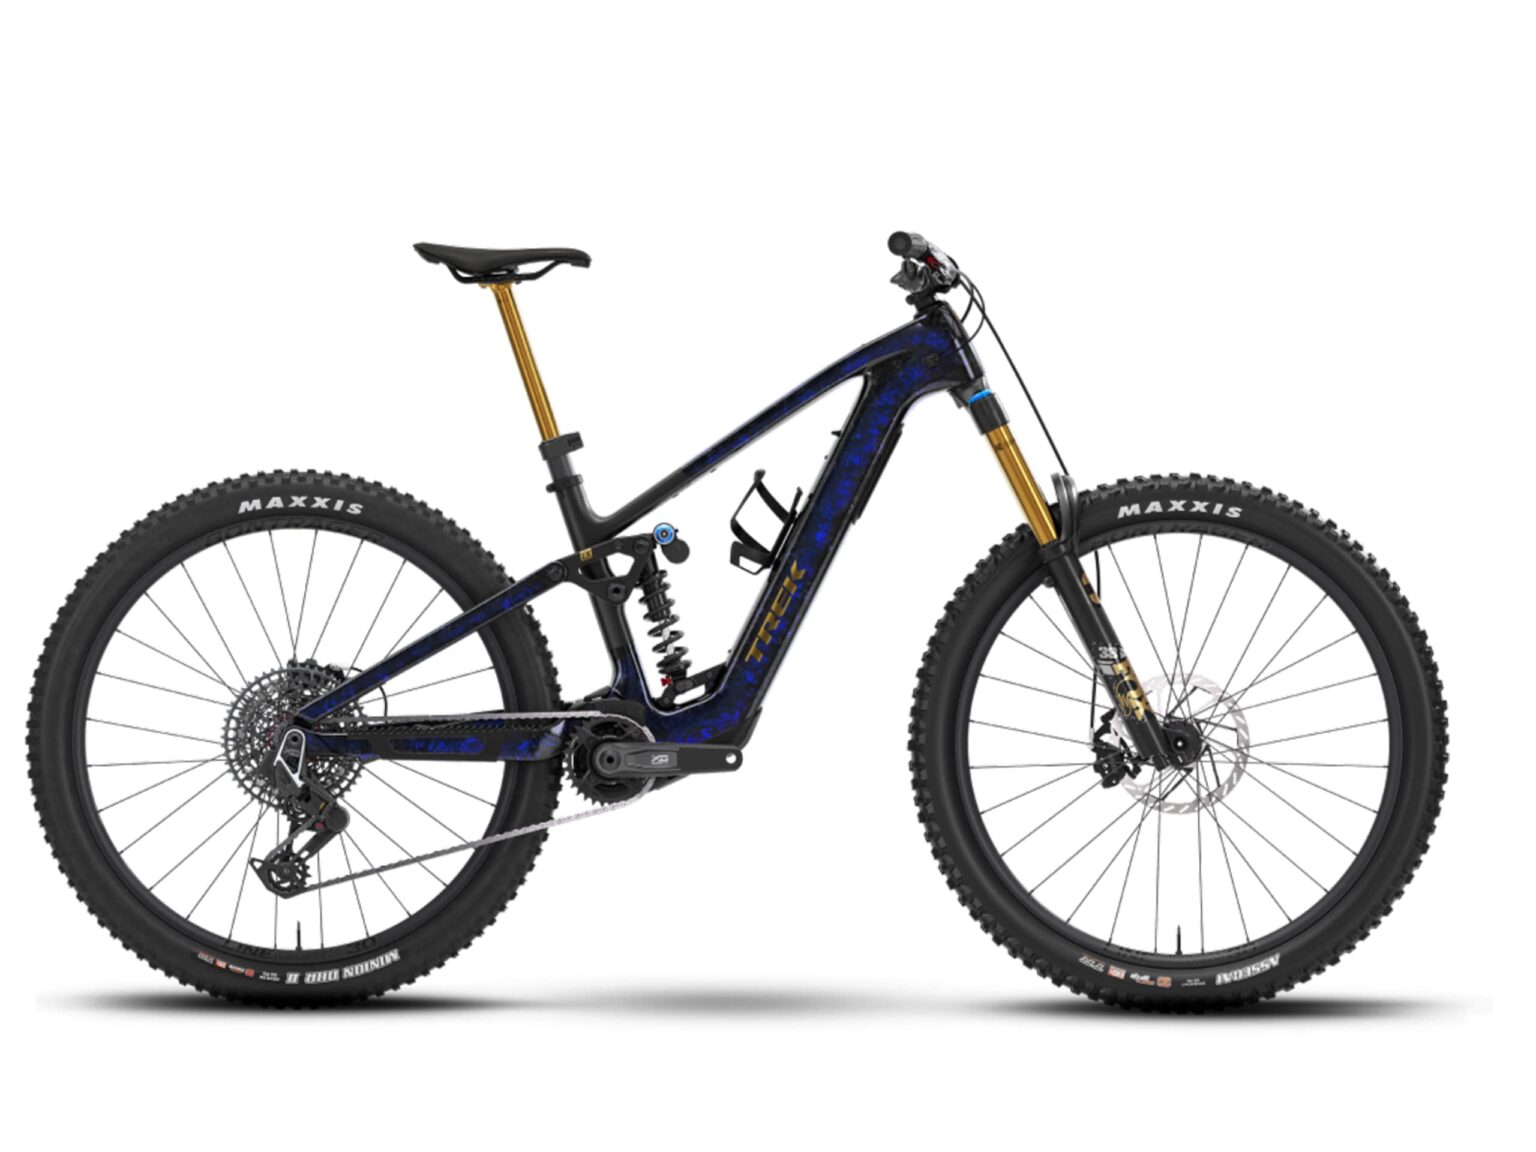
The coil shock in this official photograph illustrates one specific build. It does not prove every LX is delivered that way or that a coil is better for every weight or style. Request the exact specification of the quoted bike and ask how the suspension would need adapting to you.
More travel does not fix unsuitable tires, poorly adjusted brakes or an uncomfortable position either. Before spending on the longer-travel variant, reserve budget for those elements and for learning setup. A balanced, well-maintained bike is usually wiser than an ambitious configuration you cannot set up properly.
Anyone combining easy weekday tracks with occasional technical rides should compare both needs separately. There is no single correct choice, but there is a bad reason: paying for capability you will not use and then trying to compensate with improvised changes.
Changing versions is not simply swapping a wheel and riding away
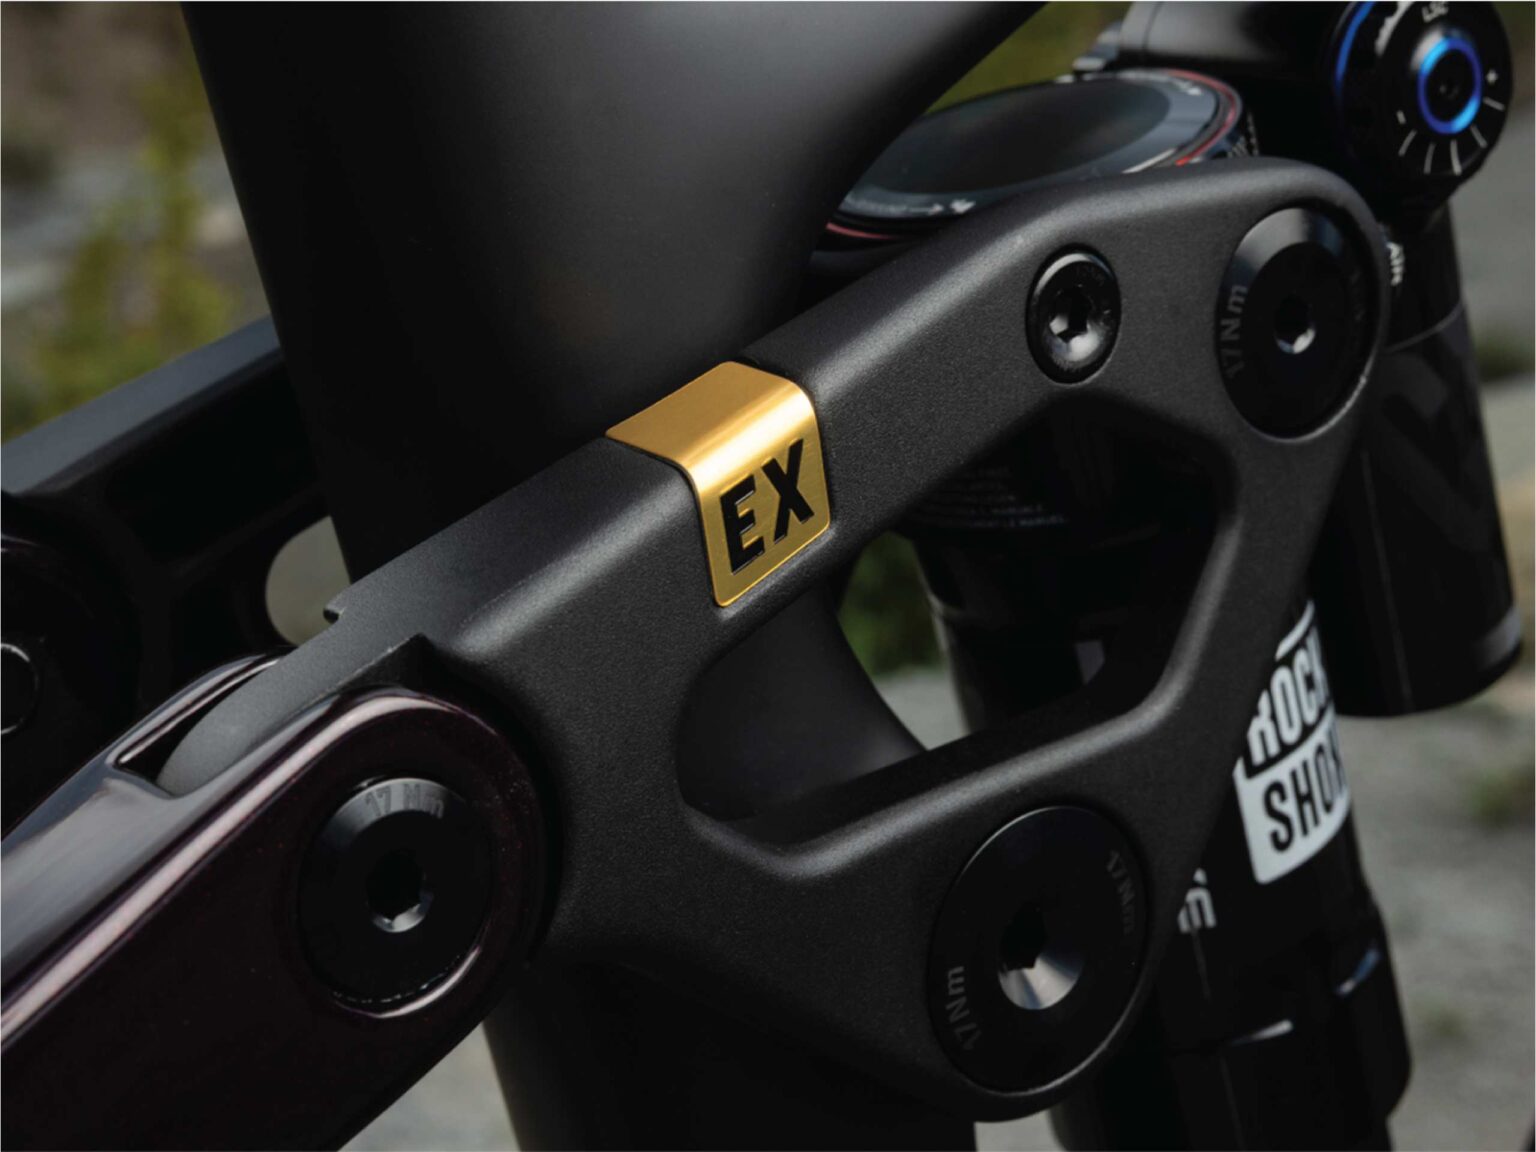
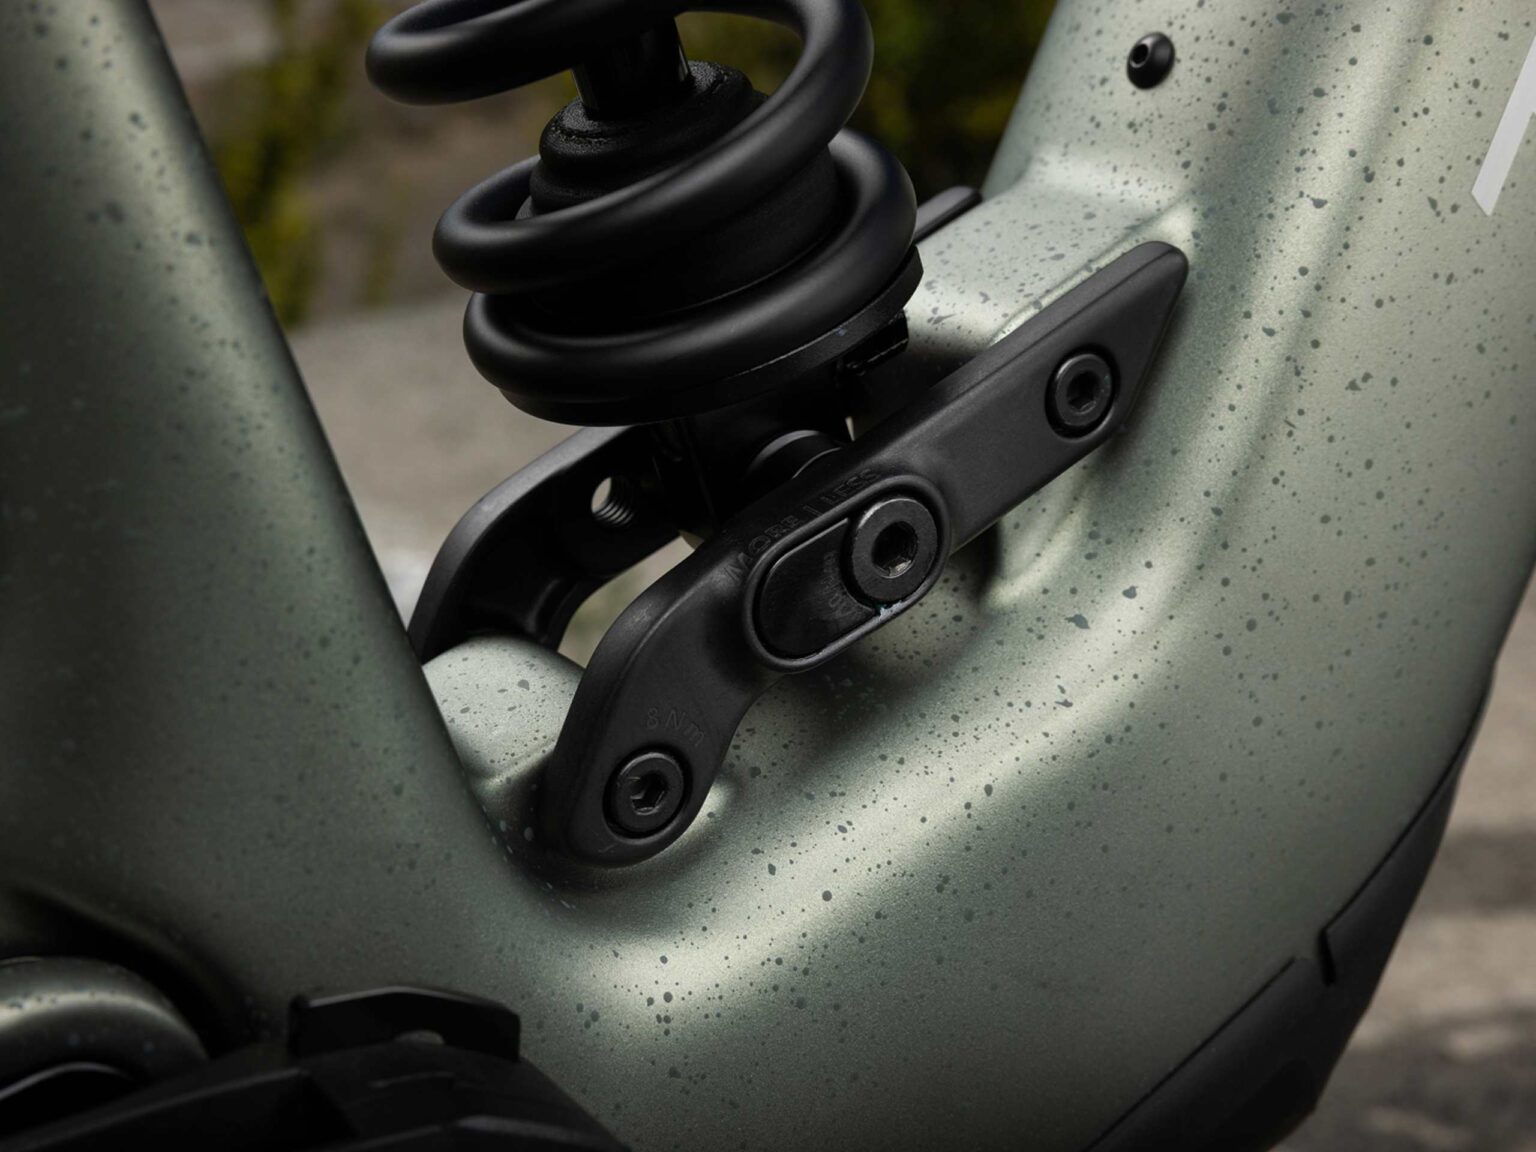
The decisive point of the documentation: Trek requires changing both the linkage and lower shock mount when changing rear-wheel diameter. It also says the dealer must update that diameter in the electronic system. These requirements appear in the Official Fuel+ FAQ; not simple aesthetic recommendations.
Advertisement / sponsored link
That's why we wouldn't treat modularity as an invitation to experiment with pieces that happen to fit. Geometry, suspension and speed reading must follow an approved configuration. This article does not include tightening torques or an assembly recipe: that data corresponds to the manual and workshop that checks the conversion.
Before buying a version to convert, request a fixed quote identifying the starting and final configurations. It should detail parts, compatibility, labour and electronic checks. Also ask which components are reused and which to keep if you want to return to the original build.
Advertisement / sponsored link
If the project depends on 'we will find that part later', do not count it as a benefit available today. Compare the total with a factory-prepared bike. A technically possible frame conversion is not necessarily economical, quick or sensible for your situation.
Linkage, mount and progression: do not confuse the adjustments
The presentation of Fuel+ Gen 2 distinguishes platform-conversion parts from progression adjustment. Keep that distinction: changing a suspension setting does not by itself convert the bike into another variant. The photo below shows the mount area; it is not an instruction to loosen it.
In practice, I would start with documented handover settings and a clear reference for your fully kitted weight. Record pressures or the fitted spring, rebound and adjustment positions. Without knowing your starting point, it is hard to tell whether a modification improves anything or simply changes the feel.
Change one thing at a time. If you alter pressure, rebound, tires and geometry simultaneously, any conclusion will be unreliable. The sag, rebound and compression guide is used to prepare these questions, but does not replace the specific rear shock manufacturer's instructions.
For a used bike, insist on knowing whether it retains its original configuration. A general photograph does not reveal every fitted part number. A workshop invoice and a coherent account of the changes tell you more than 'upgraded to the max'.
TQ HPR60 and 580 Wh: what the numbers say and what not
TQ declares for HPR60 60 Nm, up to 350 W and a maximum assistance level of 200%. The Fuel+ has a removable 580 Wh battery. The catalogue for the TQ system also lists a 160 Wh range extender; Trek confirms compatibility with every size of this platform in its FAQ.
With both batteries, nominal capacity totals 740 Wh. This is a sum of energy, not a promise of kilometres. We have not measured this bike's consumption and will not turn a specification sheet into supposedly real-world range. To plan rides, see our explanation of Wh, elevation gain and kilometres.
Your group's pace should be the first selection criterion. If you need plenty of assistance throughout a climb to keep up, test that situation before buying; do not assume all motors meet the same need. If you want to provide a substantial share of the effort, check that the response feels comfortable in the modes you will normally use.
Do not confuse capacity with ease of use either. Ask how the battery is removed, where you will charge it and which tools or steps are required. A removable battery may solve a household need, but see the full procedure in the shop rather than discovering it later in the garage.
Size, controls and equipment worth checking in person
Before comparing drivetrains, check contact points: seatpost height and usable travel, handlebar reach, brake lever position and access to the assistance remote. Wear shoes and gloves similar to your riding kit. A height-based size recommendation is a starting point; it does not settle proportions, mobility or preferences by itself.
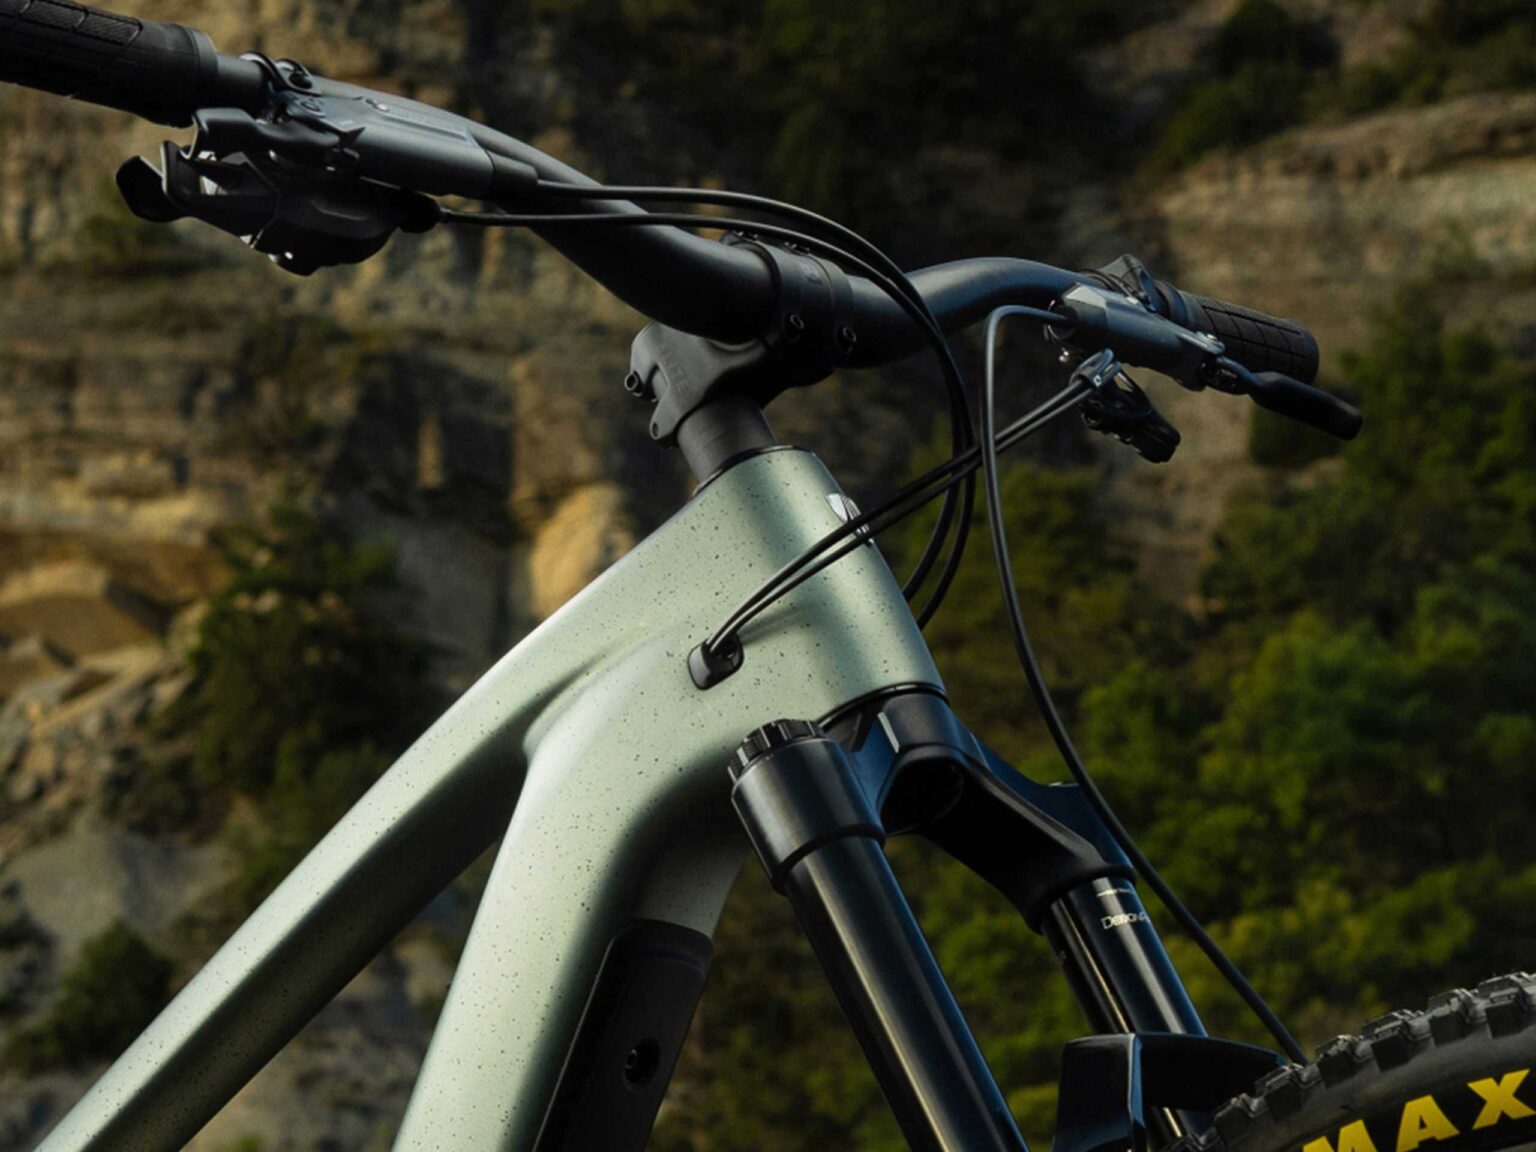
Trek limits the standard color display to the 9.8 and 9.9 versions in its Range description. Do not assume it is included because a photo shows a higher version. Check the display, remote and components in the quote, especially for a display bike or custom build.
During the demonstration, change modes, check charge and read the display from your normal riding position. Ask how to restore settings and how servicing is handled if a warning appears. These simple questions help establish whether the shop knows the product it sells.
I would not pay a substantial premium solely for a more eye-catching display without first comparing suspension, brakes, wheels and fit. The interface matters, but build value depends on overall use and available budget, not one isolated detail.
The real budget: bicycle, conversion and maintenance
We do not publish a single price because mixing versions, customisation and local offers would make a misleading comparison. Request two quotes for identified bikes, stating size and equipment. Separate the purchase price from accessories, pre-delivery changes and planned maintenance.
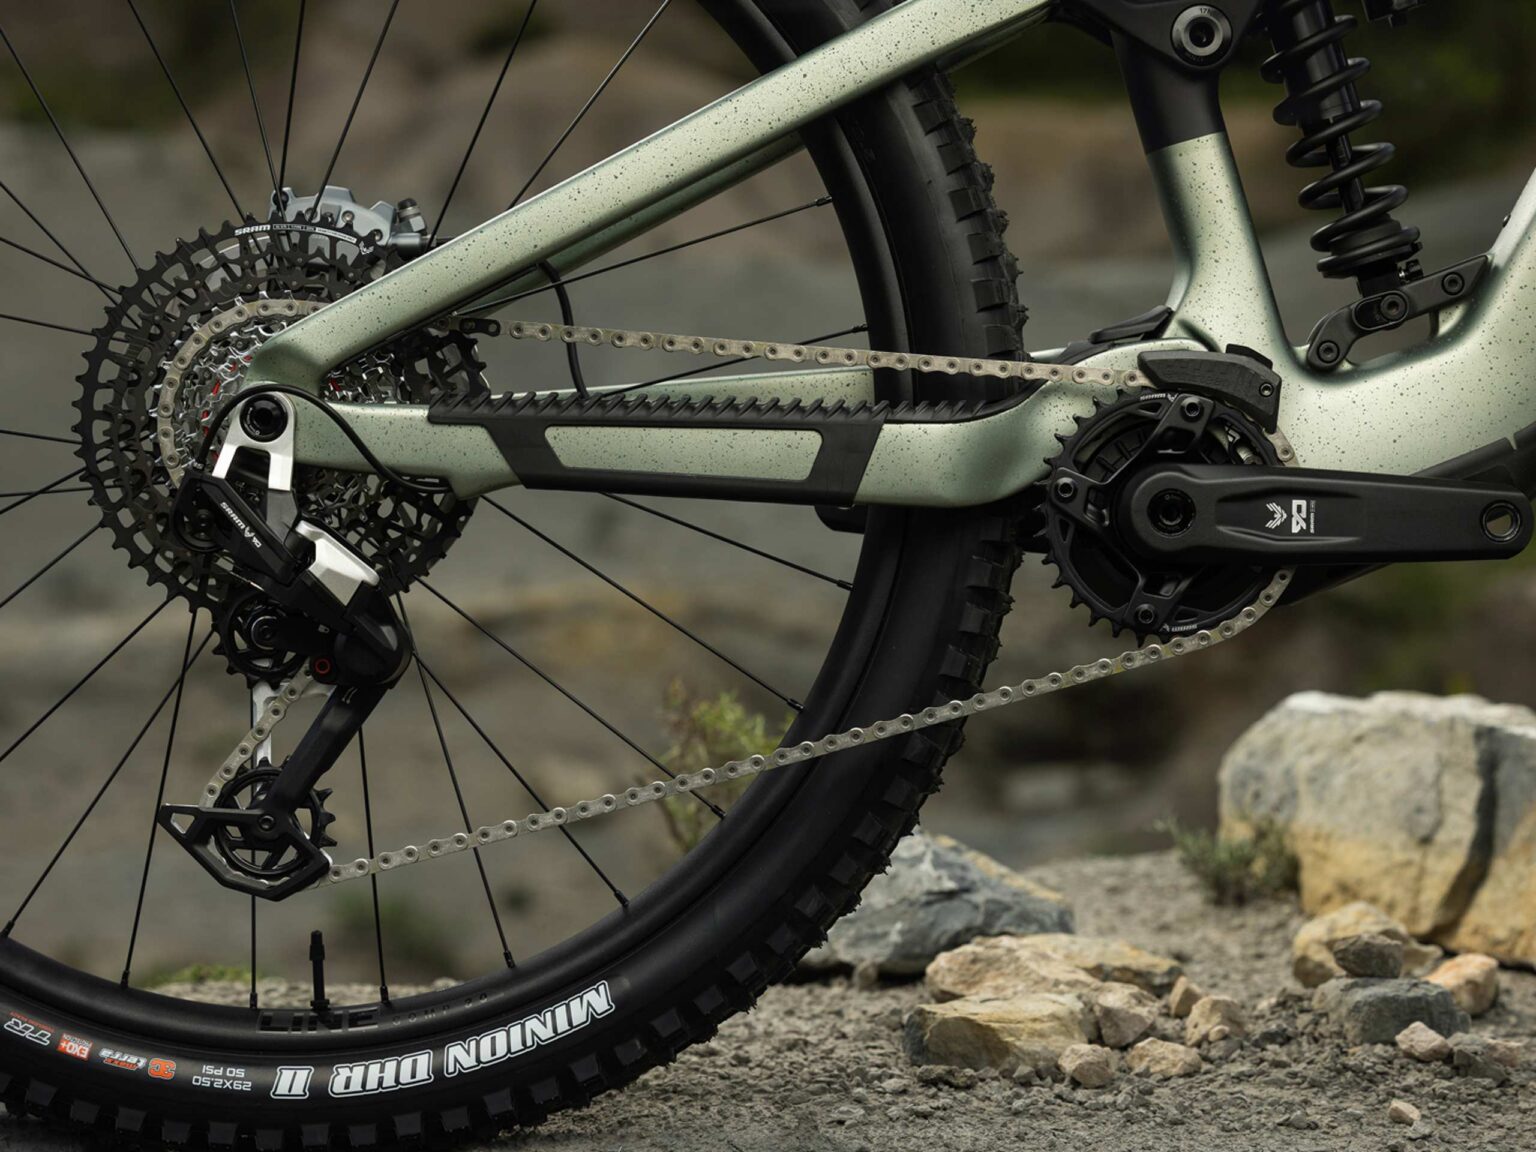
- Configuration: exact reference, size of both wheels and suspension installed.
- Conversion: parts available, workshop cost and electronic check where applicable.
- Usage: tires suitable, pedals, transport and charging solution.
- Service: workshop that will attend motor, battery and suspensions, with conditions in writing.
For a used bike, add a condition and documentation check. Do not treat a possible future change as a guaranteed saving. If several tasks are needed immediately, compare it with another bike after adding those costs, not before.
This way of budgeting avoids another error: spending everything on the initial assembly and postponing wear parts. The eMTB collection checklist helps you write down what is included and what you should check before accepting delivery.
A short test that really helps decide
Propose a simple, safe comparison to the shop, without chasing records. Bring three written questions: whether the size lets you move comfortably, whether assistance suits your usual effort and whether the chosen configuration makes sense on your terrain. A short demonstration does not measure reliability or range, but can reveal an obvious mismatch.
Advertisement / sponsored link
- Check first basic settings and operation with store staff.
- Ride an easy section to familiarise yourself with brakes and modes.
- Try a familiar climb at sustainable effort without chasing a target speed.
- Repeat a simple stretch with curves and observe control and comfort.
- Write down doubts before looking at discounts or colors.
If you compare to a Trek Rail+, do not treat it as a numbers contest. They may meet different needs. And if the same system in another platform interests you, the Scott Voltage eRIDE HPR60 provides another buying reference, not an automatic equivalent in handling.
Quick questions and our editorial decision
Would you buy the cheapest one to convert it later?
Only with a complete quote and compatibility confirmed before paying. Without those, the supposed saving is a hypothesis. Conversion makes sense as part of a specific plan, not as justification for an unsuitable purchase.
Does more travel mean I will descend better?
Not necessarily. Setup, technique and terrain still matter. Choose a configuration you can use and spend time getting to know it. More aggressive specifications do not replace skill development or comfort.
Does this guide prove that Fuel+ is better than its rivals?
No. It analyses documentation and buying decisions; it contains neither our own measurements nor a trail comparison. The recommendations are editorial criteria for preparing a test and a useful discussion with the shop.
Our conclusion: Modularity is valuable if it allows you to keep a bike when your needs change. It shouldn't become an excuse to buy without deciding. First select the configuration you need today, check size and mounting, and consider future transformations as an option that needs to be budgeted and validated.
The best Fuel+ for you will not necessarily have the most travel or the highest price. It will be the one you can ride, adjust and maintain confidently without relying on assumptions about wheels, parts or assistance.
Sources and documentation
Information checked on 04/10/2026. Editorial guide based on official documentation, not our own ride test. Equipment and availability may vary by market.
Have you used this bike, motor or component?
Join eRIDERSeMTB on Telegram to discuss real experiences with other riders: Bosch, Avinox, Shimano, deals, faults and buying decisions. The community currently speaks Spanish.
Join TelegramAdvertisement / sponsored link
Advertisement / sponsored link
Advertisement / sponsored link